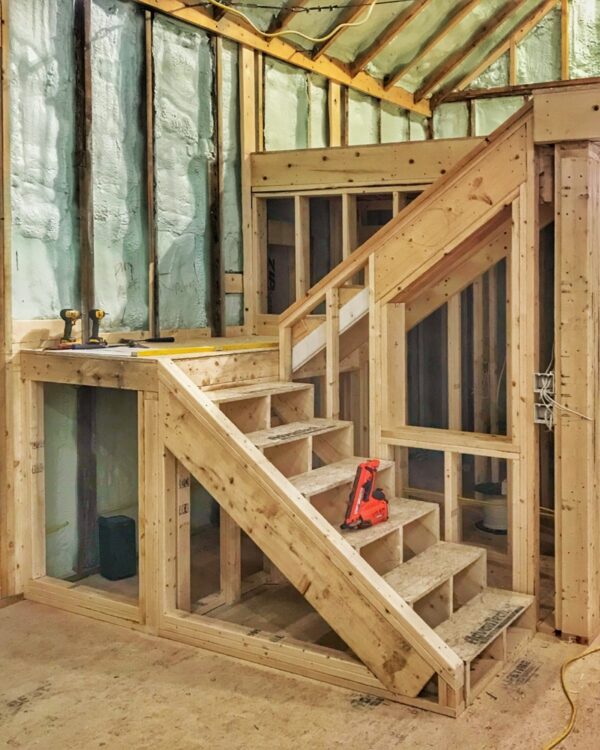
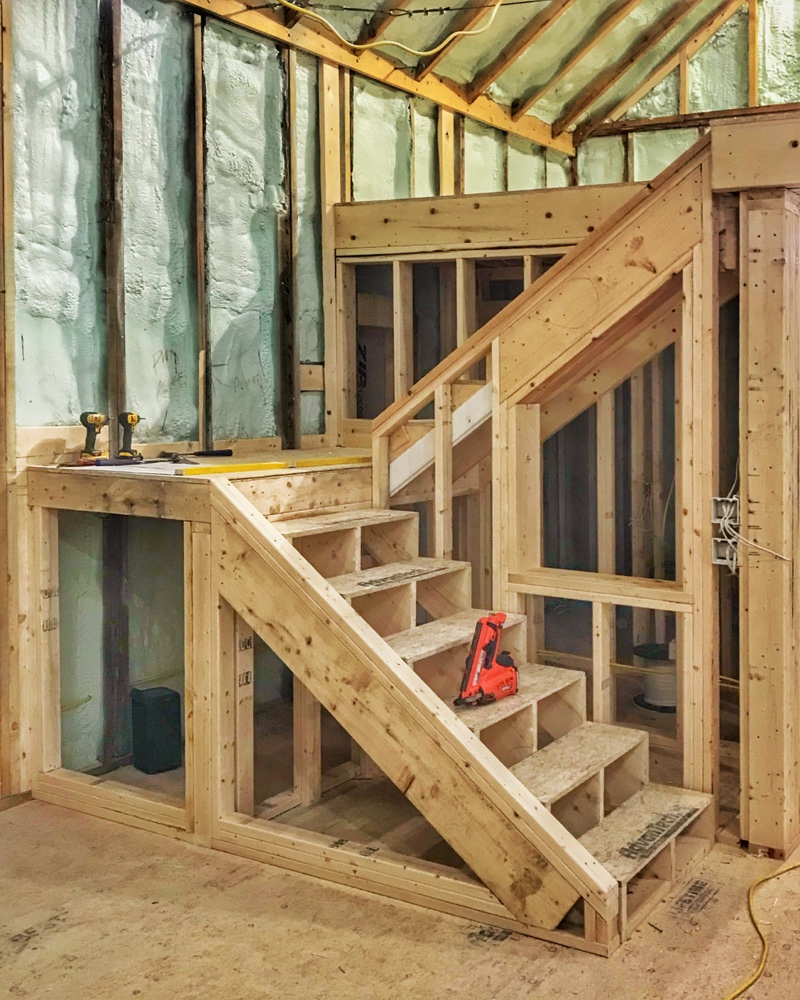
First phase of interior framing (walls for bathroom, mechanical room, coffee bar, and loft floor) was an invigorating milestone in Rosslyn’s icehouse rehabilitation project. And then, installing the loft subfloor helped complete the transformation, visually defining the new spaces. But the most notable triumph during the interior framing phase is the stairway which has dramatically transformed—both visually and functionally—the construction site into a prototypical preview of Rosslyn’s icehouse reinvention.
An avalanche of accolades on Hroth and Matt for successfully completing the stair framing to the icehouse loft. Bravo!
Of course, skilled carpentry is the foundational ingredient for framing a staircase, but there’s a fair bit of mathematics and geometry as well. And then there’s the question of codes compliance. Lots of precise and inflexible dimensions enduring the safety of stairs!
And all of these ingredients need to be carefully coordinated to ensure successful staircase framing.
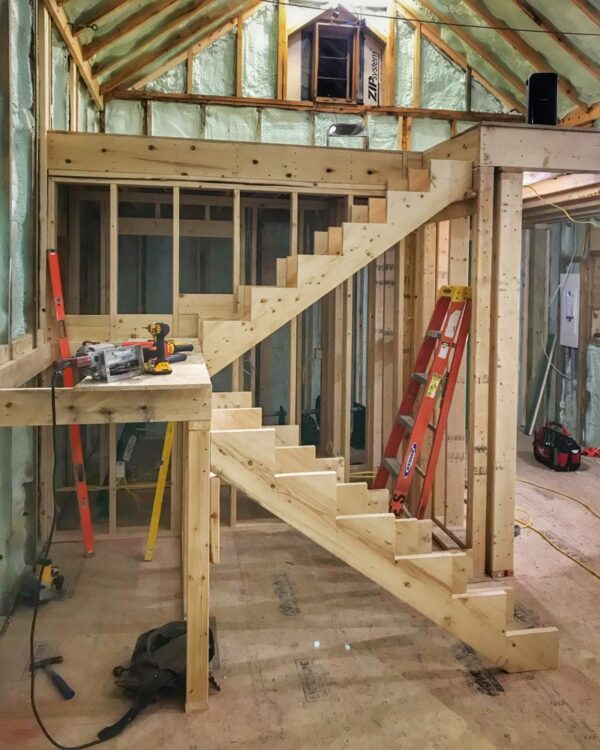
In the days prior to framing the loft stairs, confirmations were ironed out with the inspector; three-way meetings between Hroth, Pam, and yours truly reviewed plans, verified field conditions against the plans, checked and double checked everything to ensure that we were all on the same page; and then Pam and I stepped aside to let the carpenters perform their alchemy.
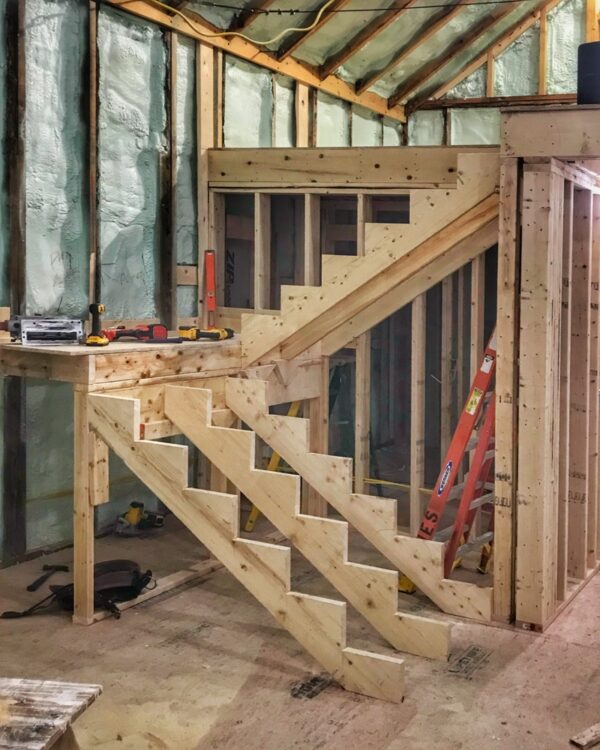
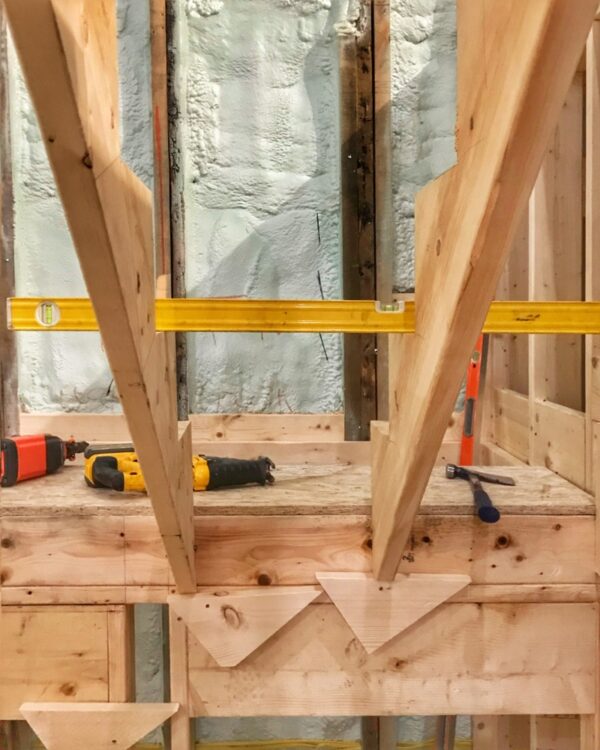
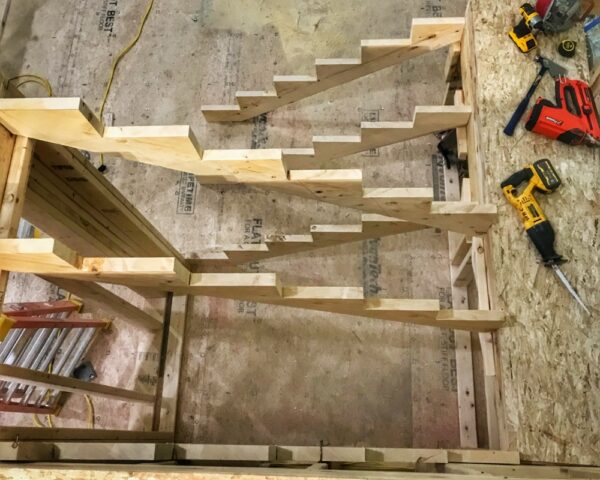
I’ve juggled my photo sequence a bit in this post to keep things interesting, but it’s worth noting that the first photo at the top of the post actually shows the staircase. And then the next for photographs document the process of installing the stringers.
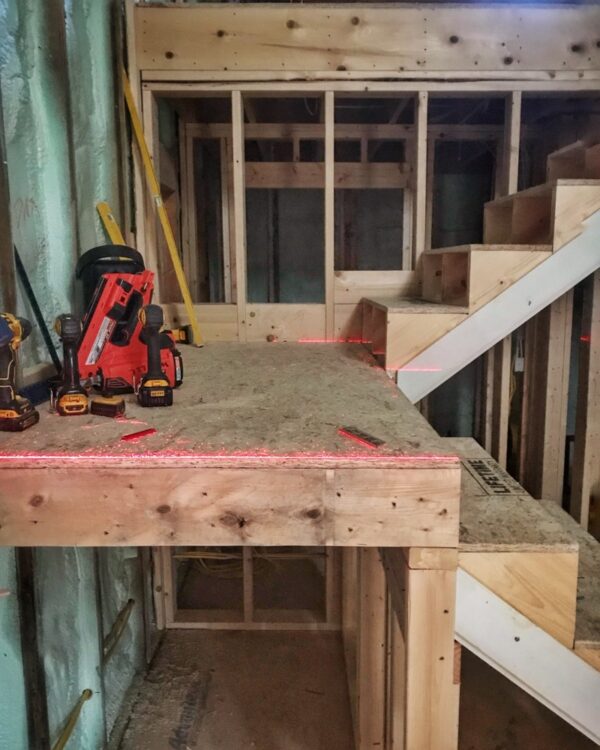
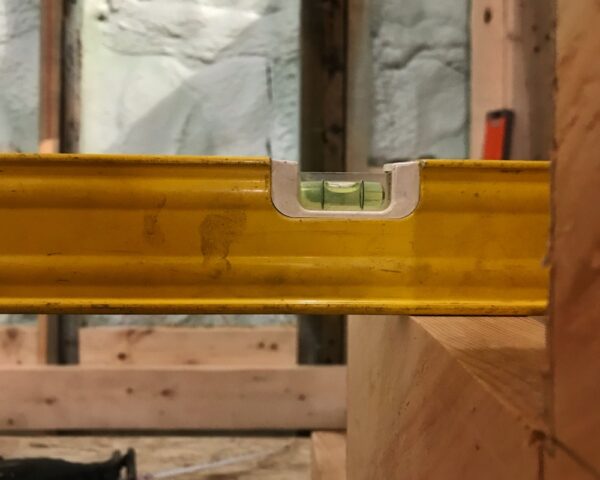
In addition to the stringers, Hroth reconfirmed that the landing is 100% level, eliminating problems down the road.
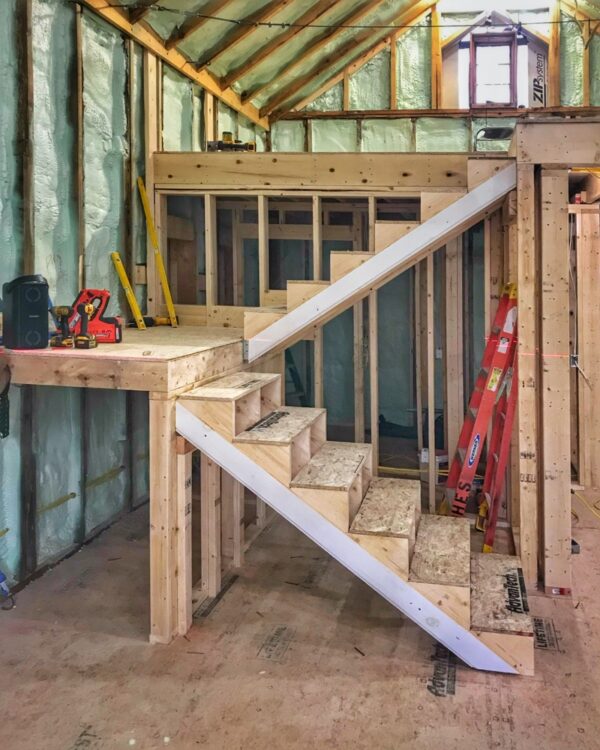
Throughout stair framing verifying everything for level and plumb is critical so that micro adjustments can be made as needed.
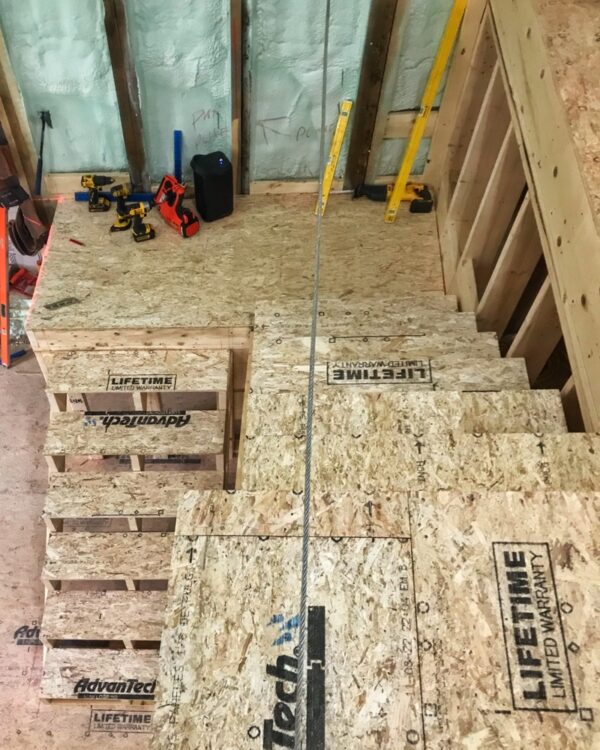
Once stringers are secured and sun-treads installed, stair framing is ready for for further structural integration.
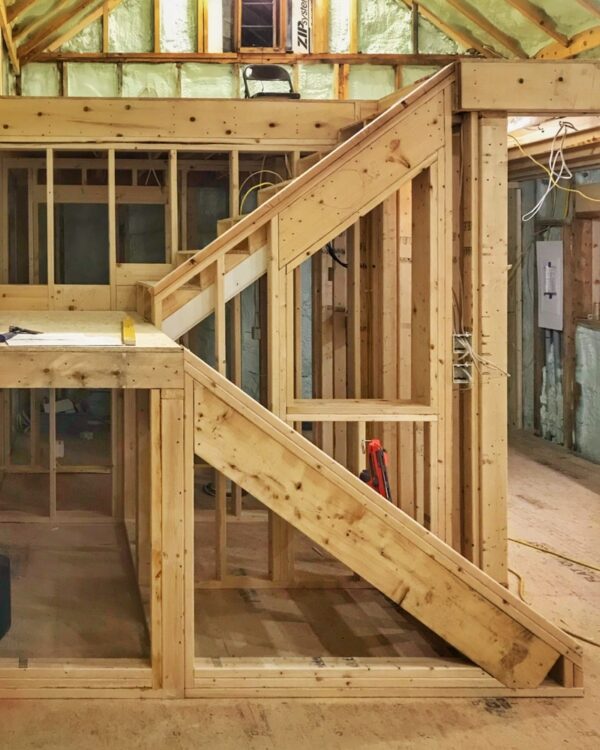
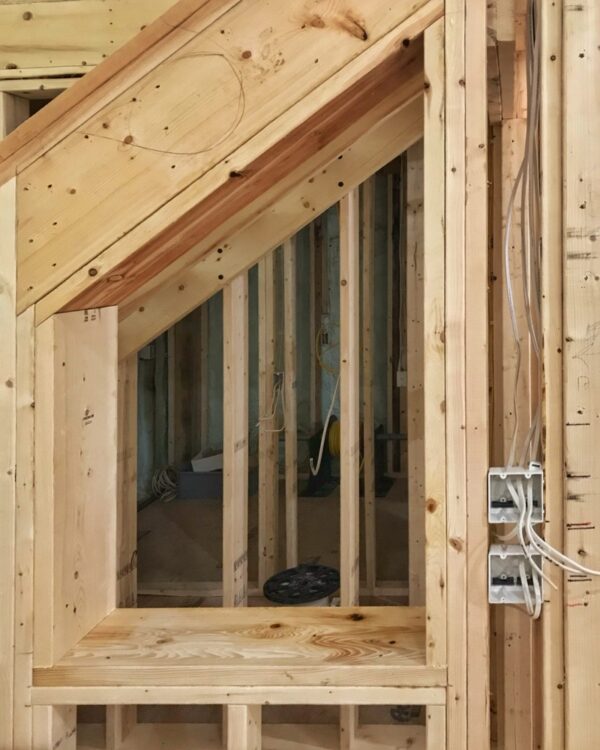
And then, Hroth moved on to framing the tops of the stringers where railing balusters will land. And he’s even begun framing in the built-in shelves.
Leave a Reply