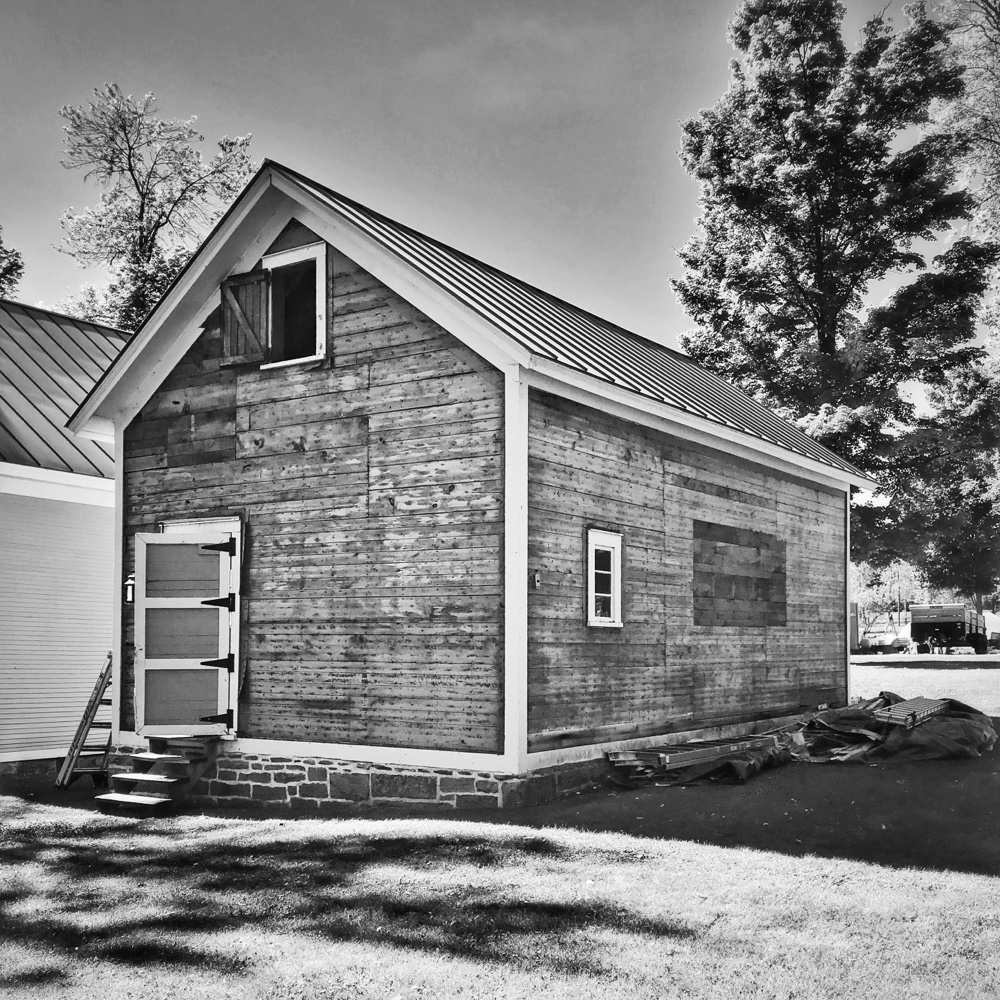
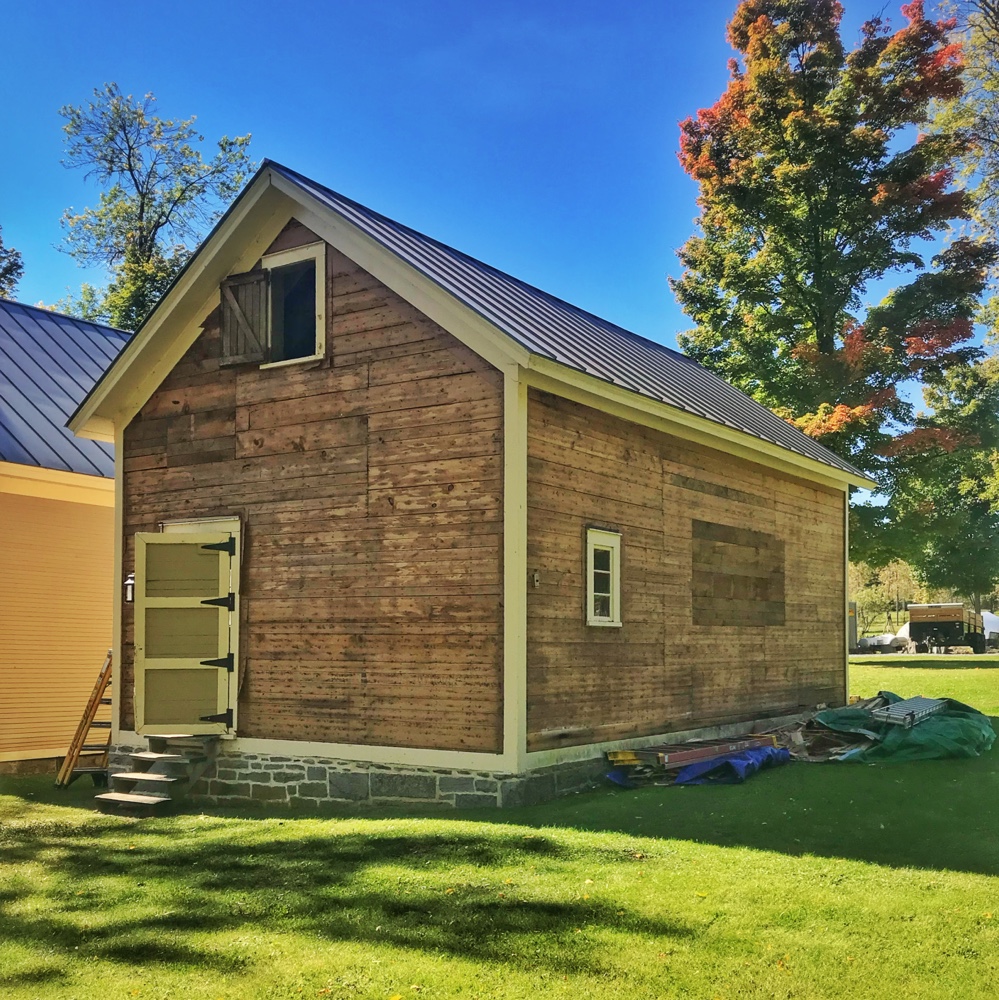
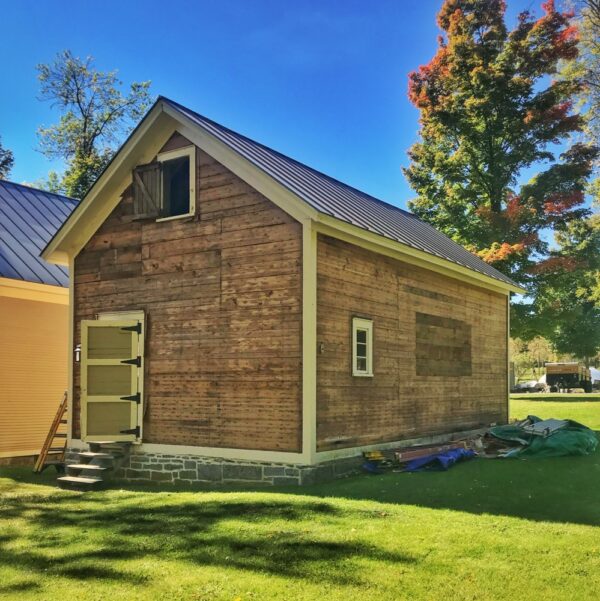
Preparation for historic rehabilitation of Rosslyn’s icehouse is underway, and the photo above captures progress as of this afternoon. On the third day of removing clapboard siding from the icehouse we are now officially 3/4 of complete. And top of the good news list was confirming that the old cladding is in excellent condition except for a little dry rot on NW corner. Per Hroth, “Overall everything looks really good!”
Tabula Rasa
But I’m getting ahead of myself. Let’s rewind about a week, back before our priority shifted to removing clapboard siding.
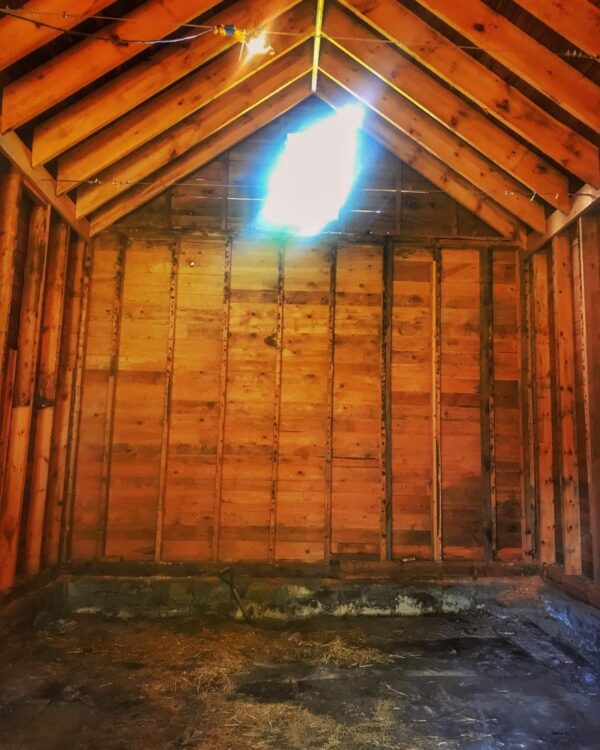
Rosslyn’s ice House was chockablock, not with ice, but with a decade and a half of architectural salvage, building supplies, woodworking projects, etc. Step one was emptying everything from the interior of the icehouse, inventorying the materials, transporting them to the rental storage container, sorting and storing the materials in a secure and orderly fashion do that we can retrieve as needed in the months ahead.
Mission accomplished! Pam and Tony moved mountains of material, and this is what the inside of Rosslyn’s icehouse looks like now: a true tabula rasa ready for reimagining.
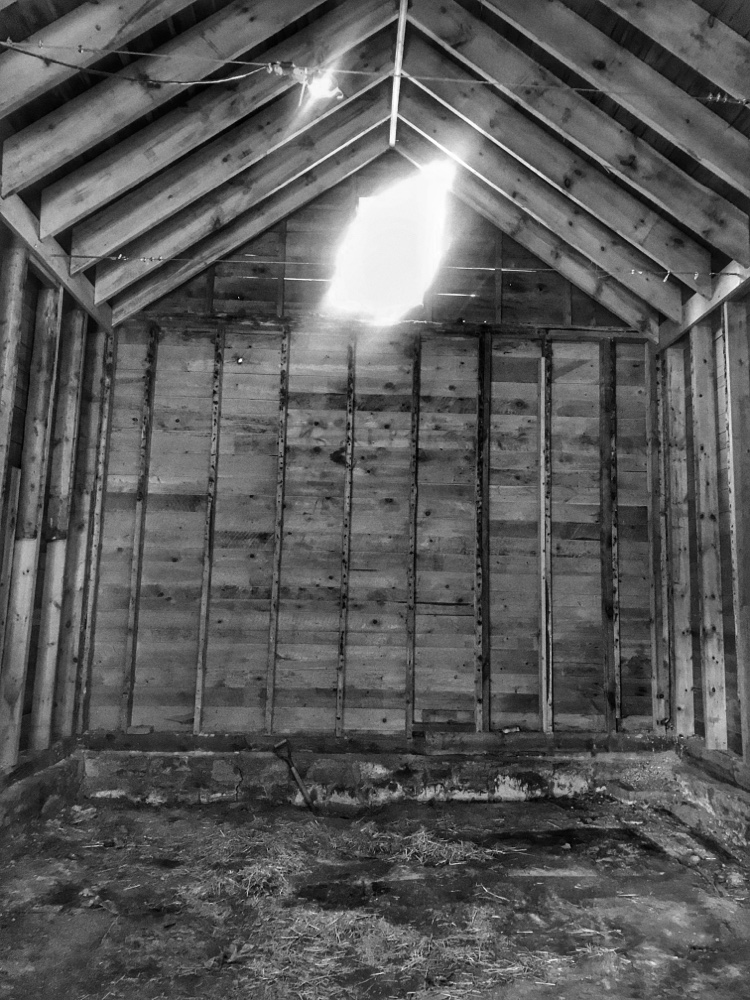
Removing Clapboard Siding
With the icehouse now 100% empty, attention turned to the exterior. When we purchased Rosslyn back in 2006 the icehouse was in pretty rough shape. The north and south walls were “corn cribbing“ (falling outward, top plates literally leaning away from each other), and the roof was collapsing in. I posted a recap of our structural stabilization of the icehouse that will get you up to the present.
In some respects, the way the icehouse looked when we purchased the property was pretty similar to the Jason McNulty’s photos that zip posted in “Icehouse on Ice”. We patched in clapboards where windows had been, where a large section of the Southwest wall had been cut open, where animals had compromised the walls, where rot had damaged the structure, etc. The result was a charming patchwork of clapboard siding that resolved itself a bit once we primed and painted the building. Remember, that this was a temporary measure, intended to last long enough for us to stabilize the structure and complete the majority of the house and boathouse rehab. but months turn into years, turned into a decade and a half. At last we’re ready yo resume the project yoo long deferred.
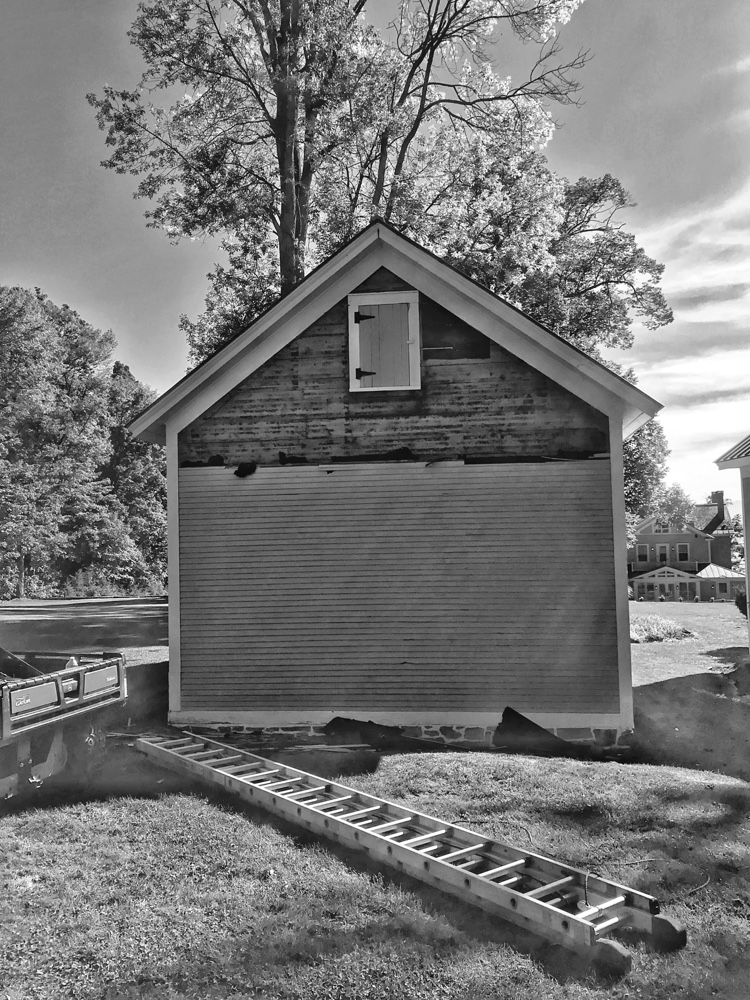
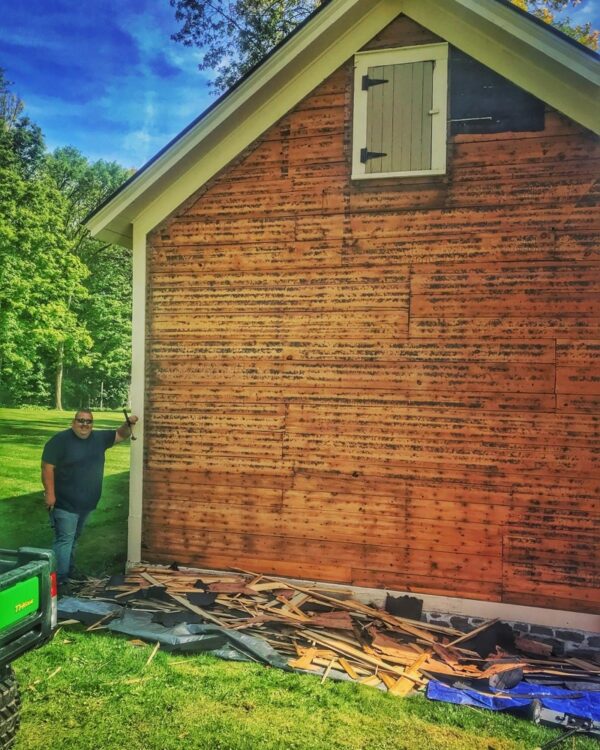
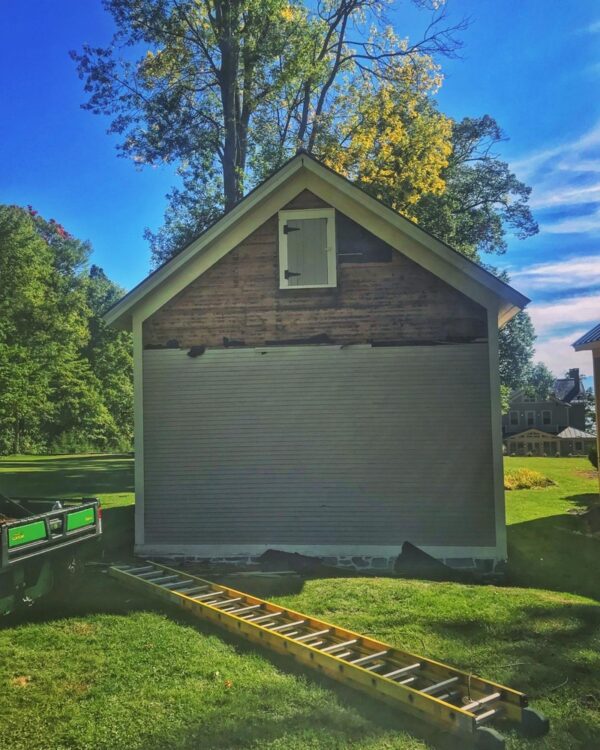
Hroth and Justin began removing clapboard siding from the west facade of the icehouse first (see the later new installation here). Since this side of the building is not within the public viewshed it made sense to experiment, troubleshoot, and fine-tune the process here first. The photo above is early in the process, and the photo below is after completion.
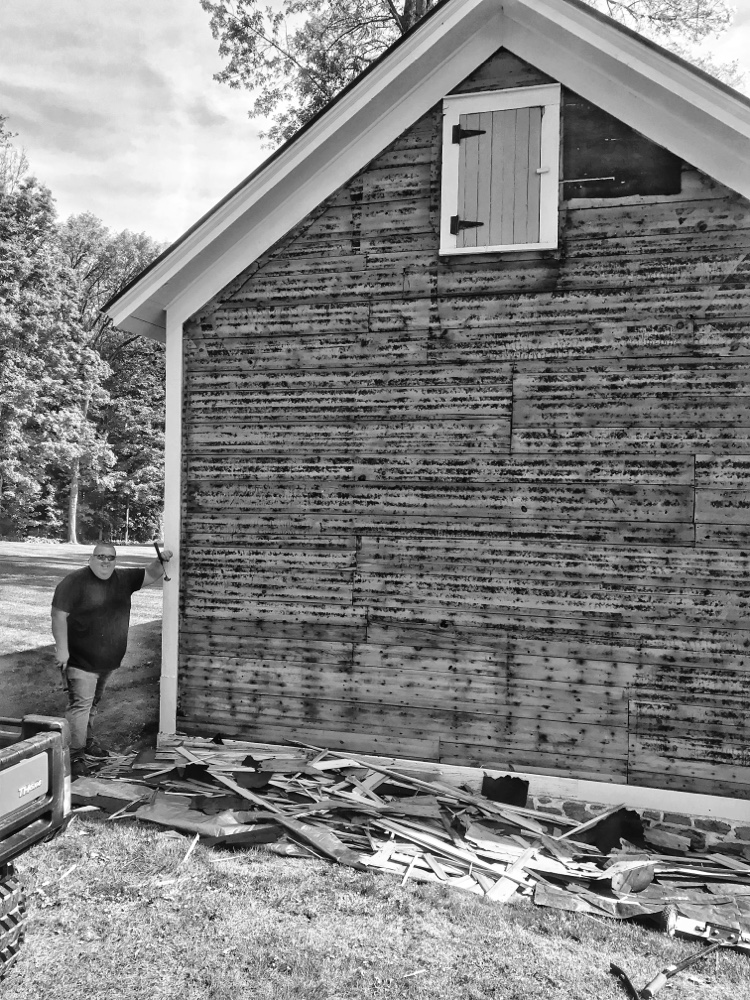
So, yes, I fumbled the chronological sequence be featuring that first photo at the top of this post. I really should have been here at the bottom since it’s the most recent update, but it looked too dramatic to bury at the bottom!
As for the black-and-white images in this post, chock it up to experimenting with “ways of seeing” and ways of redacting (ie. culling and crating the story). If you prefer glorious technicolor, or you’re just curious, here are the color versions.
Leave a Reply