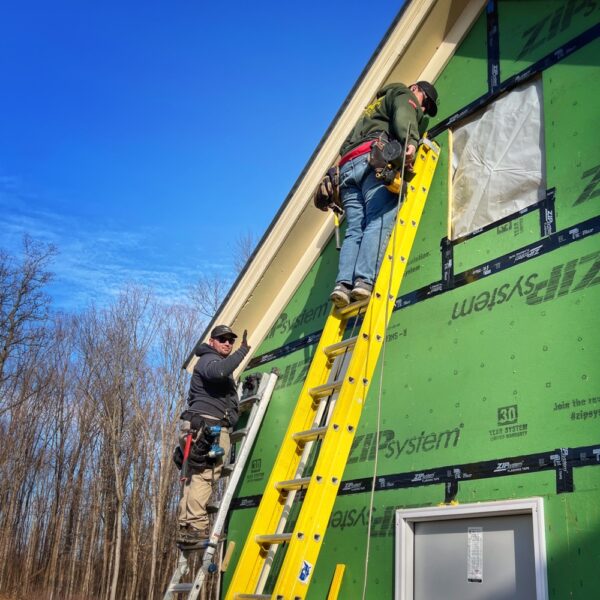
Today I’m pleased to post a quick update on the icehouse trim and clapboard installation. Temperate conditions are proving a bonus to this exciting progress. In the photo above Matt and Supi are wrapping up with the new trim so that the Benjamin Obdyke Slicker and clapboard can be installed.
The unique, vertically-channeled, three-dimensional matrix of Slicker® Classic provides a continuous space for drainage and drying, a thermal break and pressure equalization—eliminating the threat of trapped moisture. (Source: Slicker® Classic Rainscreen – Benjamin Obdyke)
This is a new product for us, and I’m optimistic that it will benefit the longevity of the cedar siding, which we ordered pre-primed and which we’re painting with two coats of paint (in the “paint shop” storage container) prior to installation.
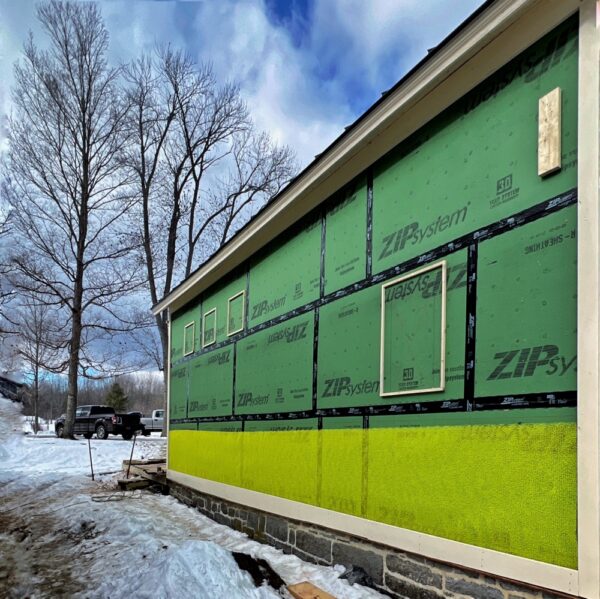
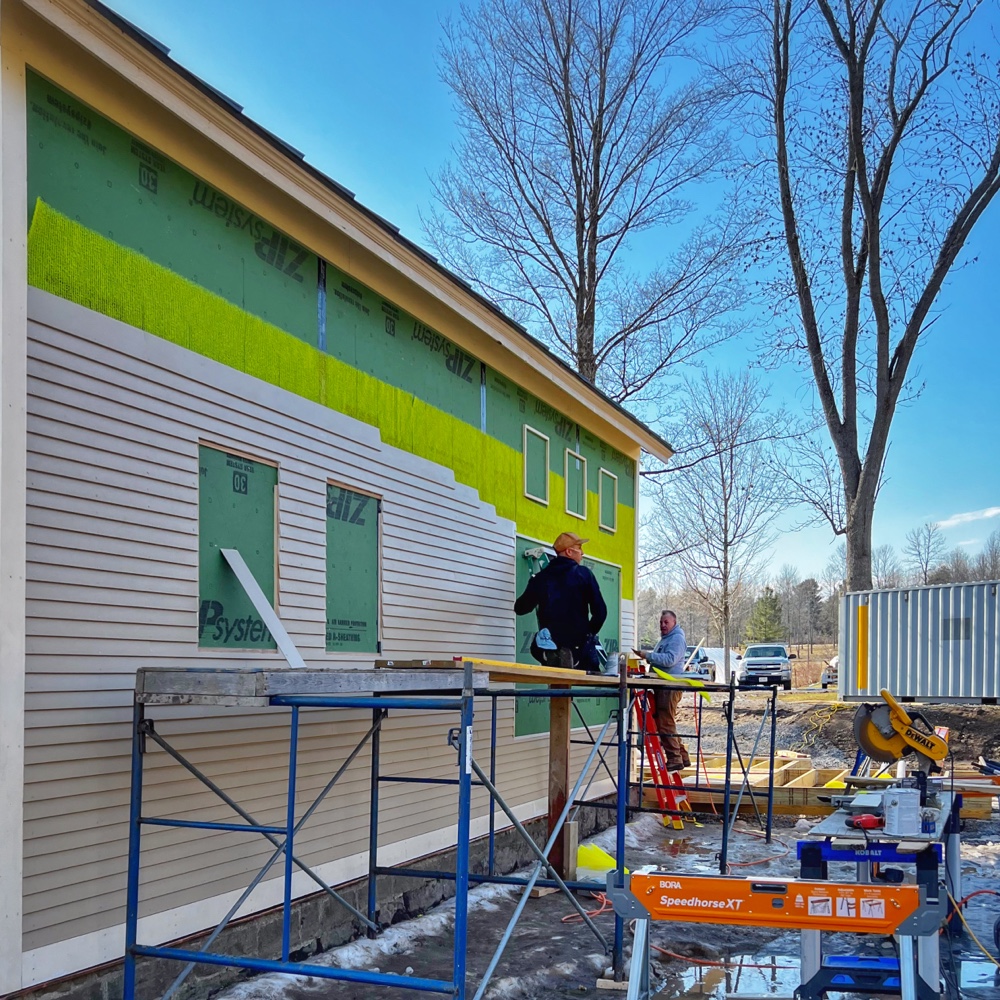
In the second photo you get a glimpse of the Slicker installation, an unfortunate color contribution rendering the temporarily green (ZIP System) building even more of an eyesore until the clapboard siding conceals it. Insect screen has been integrated into our installation to ensure that our insect neighbors look elsewhere for comfy accomodations.
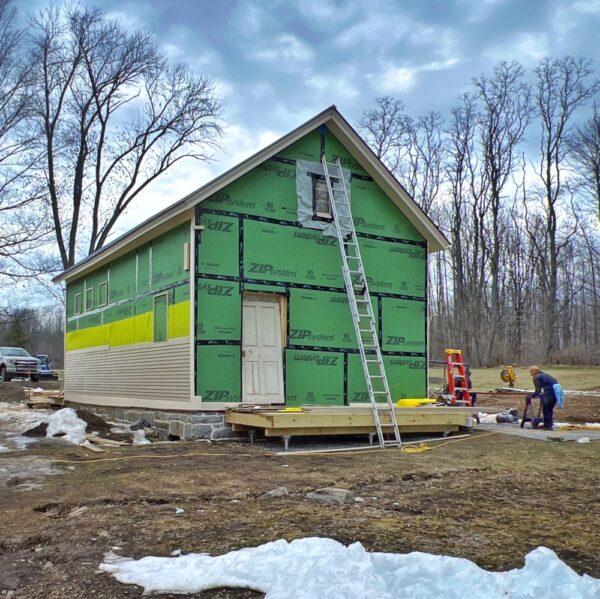
Clapboard (and slicker) in this next photo are progressing up the southern elevation. It’s a pretty dramatic transformation after looking at the glowing green icehouse, a notably incongruous focal point especially when surrounded by snow. We’re focusing on the southern and northern elevations first since they’ll allow for quick progress and fewer challenges.
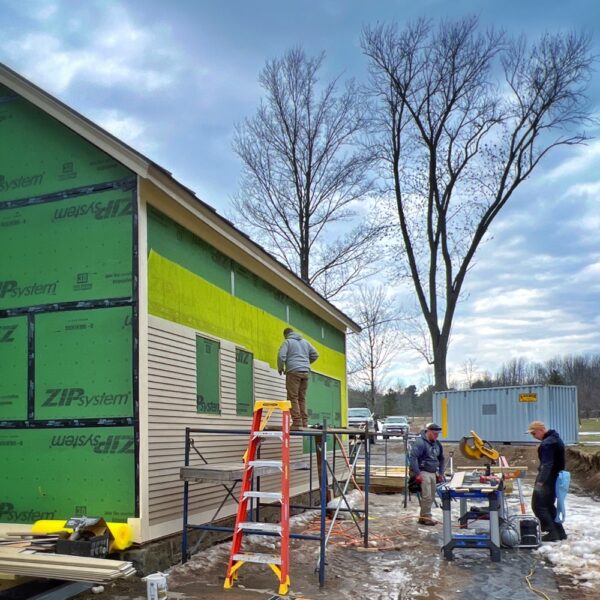
Once Calvin and Tony are super comfortable with the icehouse siding installation given this slightly tricky historic rehabilitation (angles, etc. are never quite true) they will tackle clapboard installation on the gable ends. With the hustle and experience of Tony and Calvin — plus oversight from Peter, Pam, and Eric — this next step will advance smoothly. And soon enough we’ll be able to celebrate a handsome exterior.
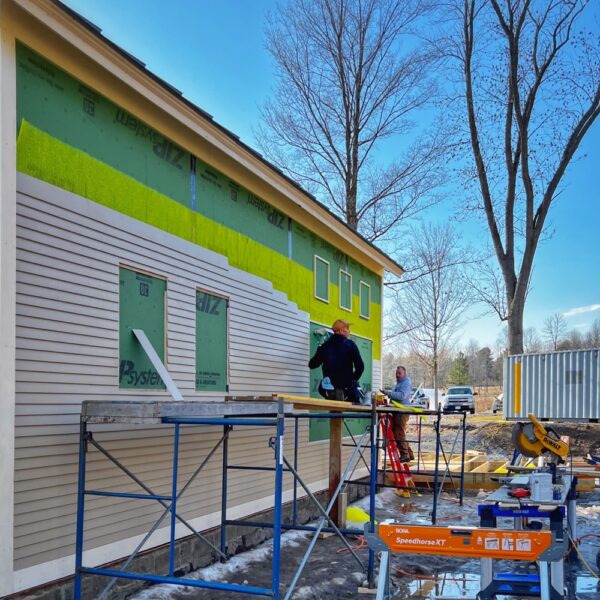
Eric, Matt, Jarrett, Supi and Peter will continue installing trim boards throughout the rest of the week/weekend (and temporary window “grounds” that will be replaced when the windows and doors arrive) so that the gable ends are ready for clapboard. Stay tuned for updates.
Leave a Reply