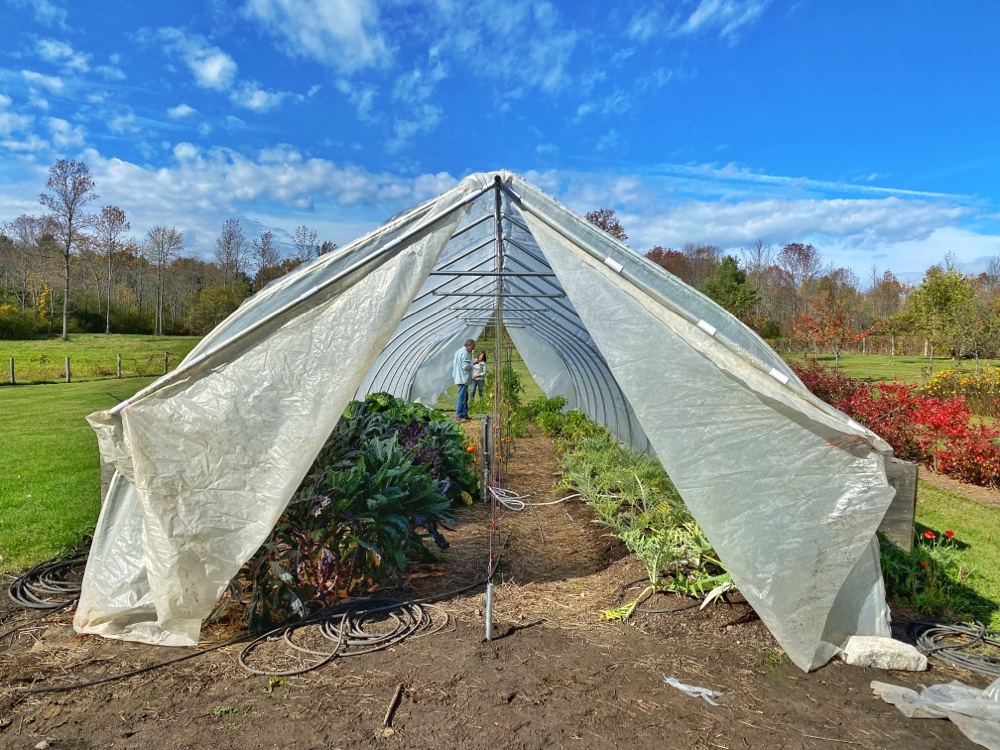
Time for a late season look at our still-semi-new hoop house’s new upgrade: scissor doors. We made it through our first season with ropes to gather and tether the “caterpillar tunnel’s” east/west ends with the assistance of ballast (rocks and bales of sod) to secure the often wind-loosened plastic. We made it, but by season’s end we knew there was plenty of room for improvement.
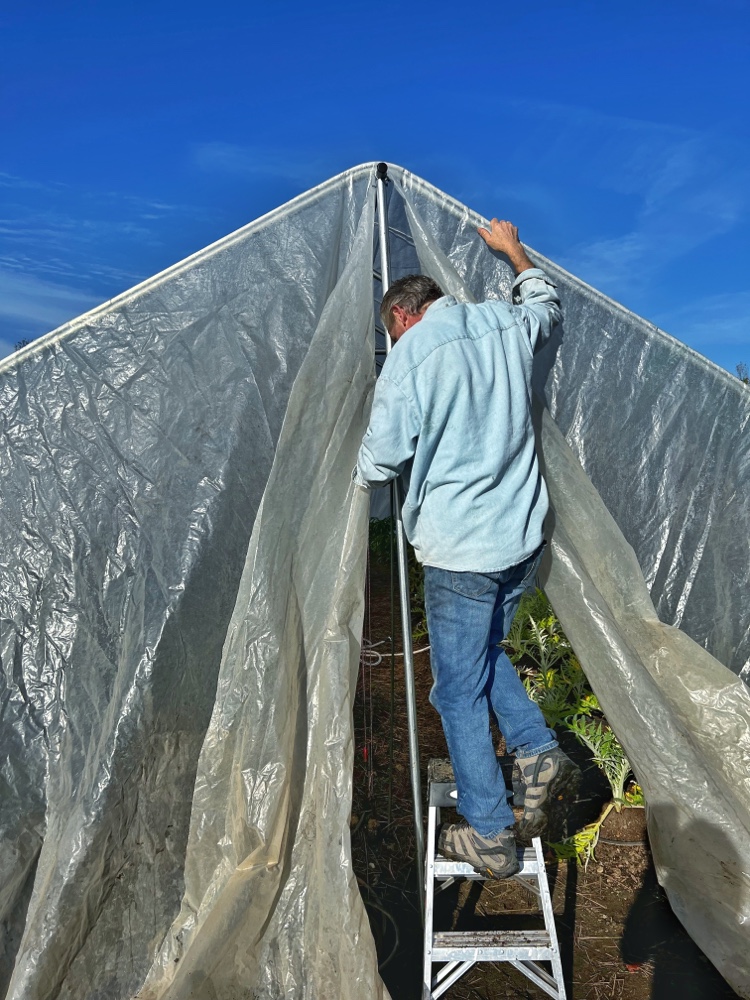
So we decided to gather a few simple parts, mostly from Johnny’s Selected Seeds. Pam and Hroth spent a Saturday morning experimenting and tweaking, eventually accomplishing a relatively convenient, weather proof closure for both ends of the tunnel.
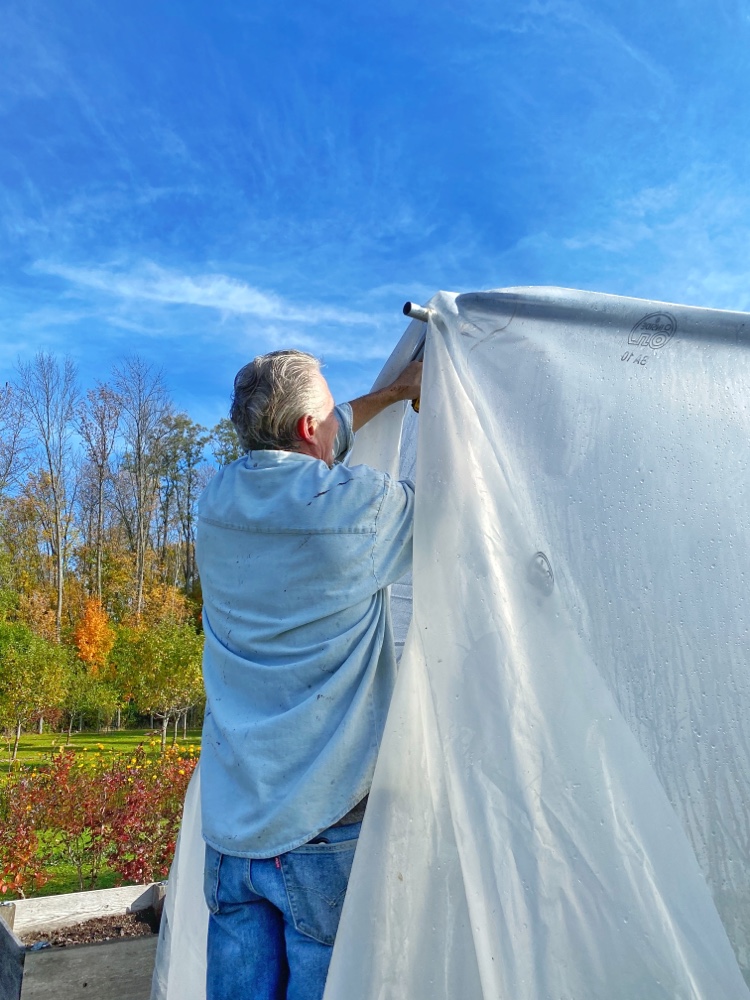
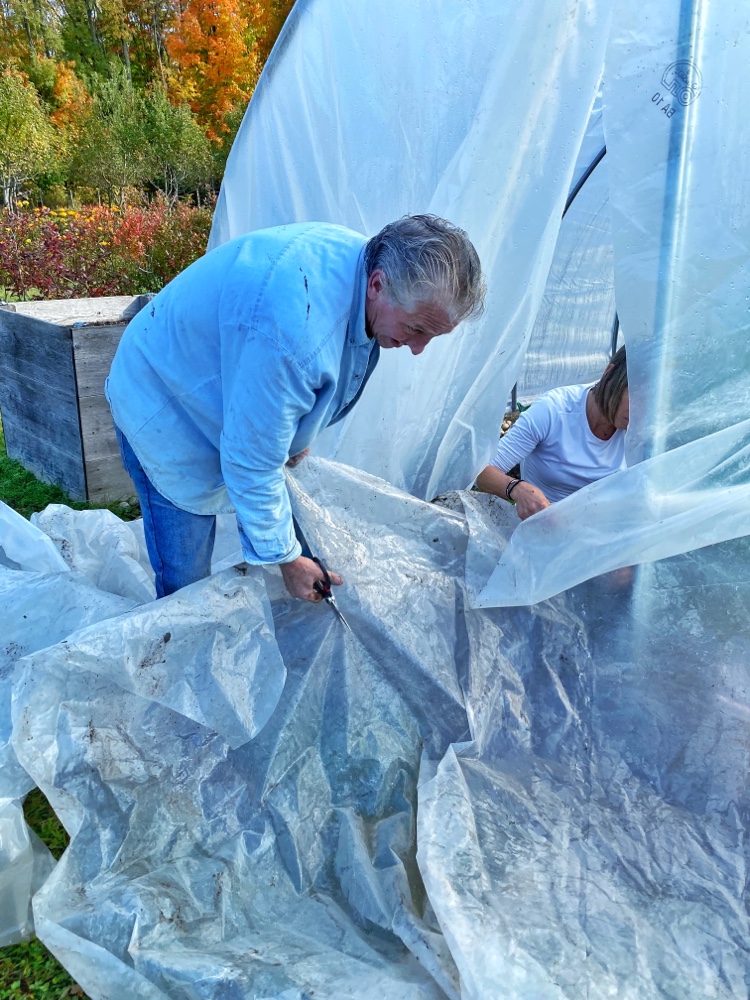
It took some patience, but it all came together.
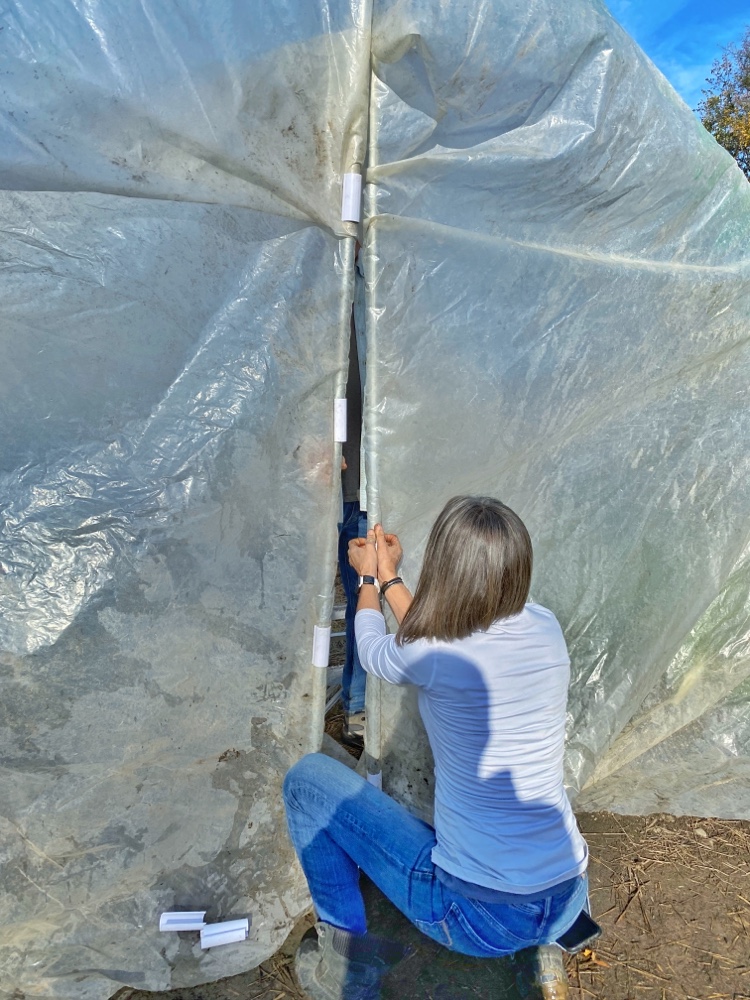
A little trimming here and an adjustment there. And voila!
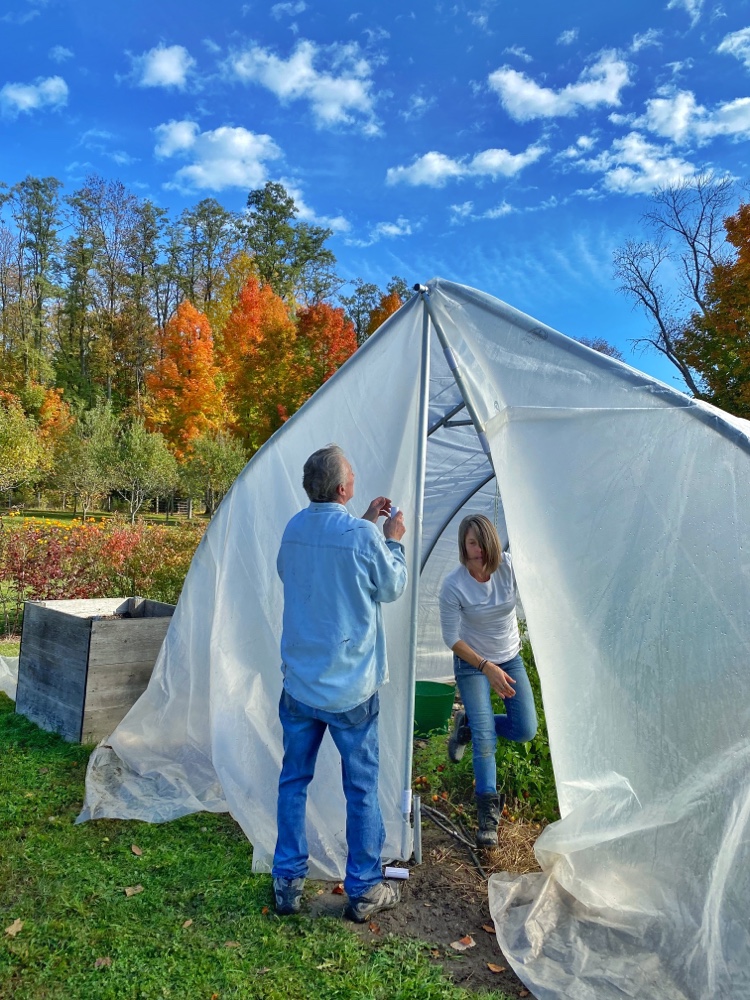
There remain a few questions such as how well the doors will hold up to harsh winter windows.
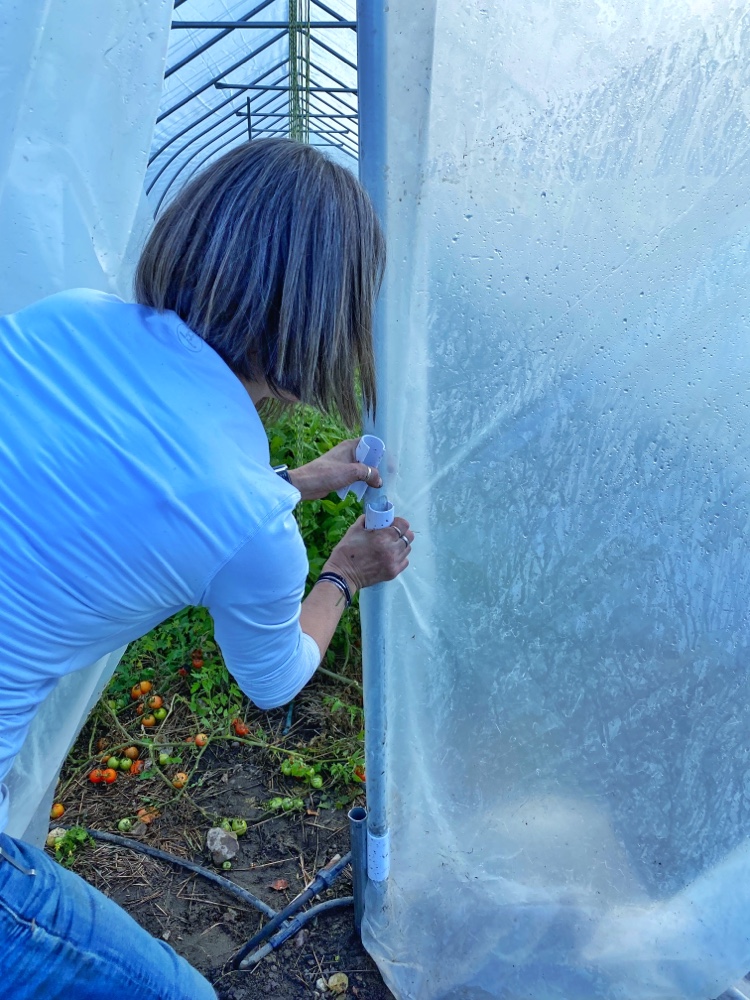
And how best to secure the doors when they’re closed to minimize air leakage and secure against wind flapping.
I’m sure we’ll adjust further in the months ahead, and we’ll post updates if/when any useful learning is acquired. Until then, here’s what the high tunnel / hoop house scissor doors look like now.
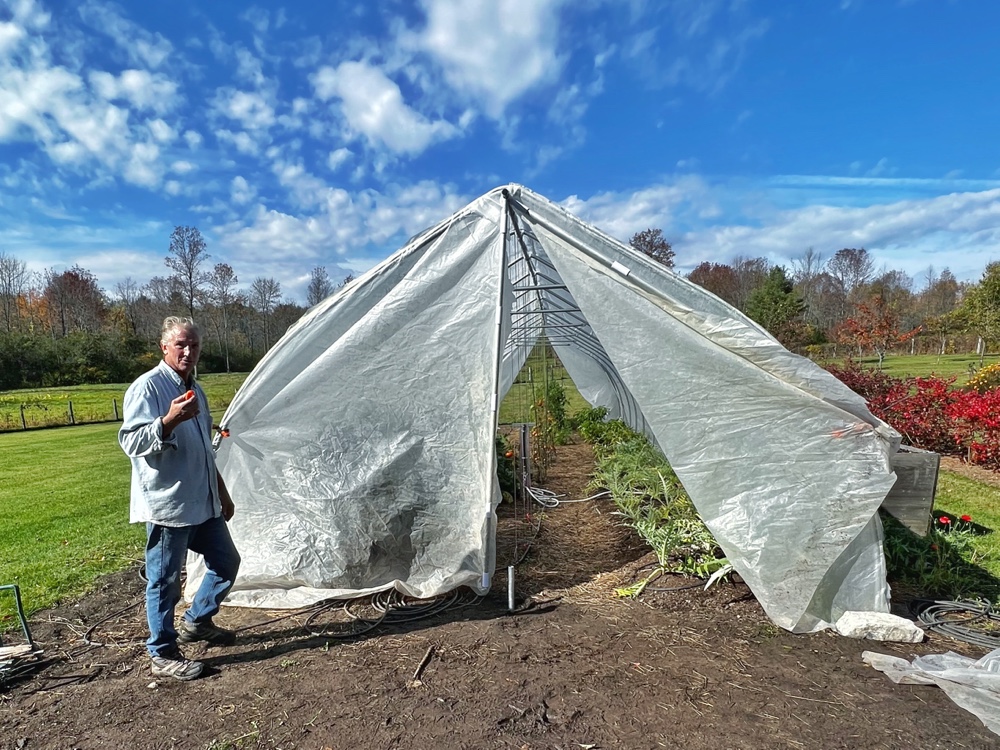
Hroth’s video proves proof of concept!
View this post on Instagram
Leave a Reply