I left you wondering, patiently waiting for a couple of weeks after the “Deck Rebuild” update. I promised a post specifically focusing on the garapa decking, but days turned into weeks, and no garapa gallery. Sorry. Rest assured it was an act of omission, my friends, not an act of commission. (Maybe “fall” earned its name as an abbreviation for “falling behind”?)
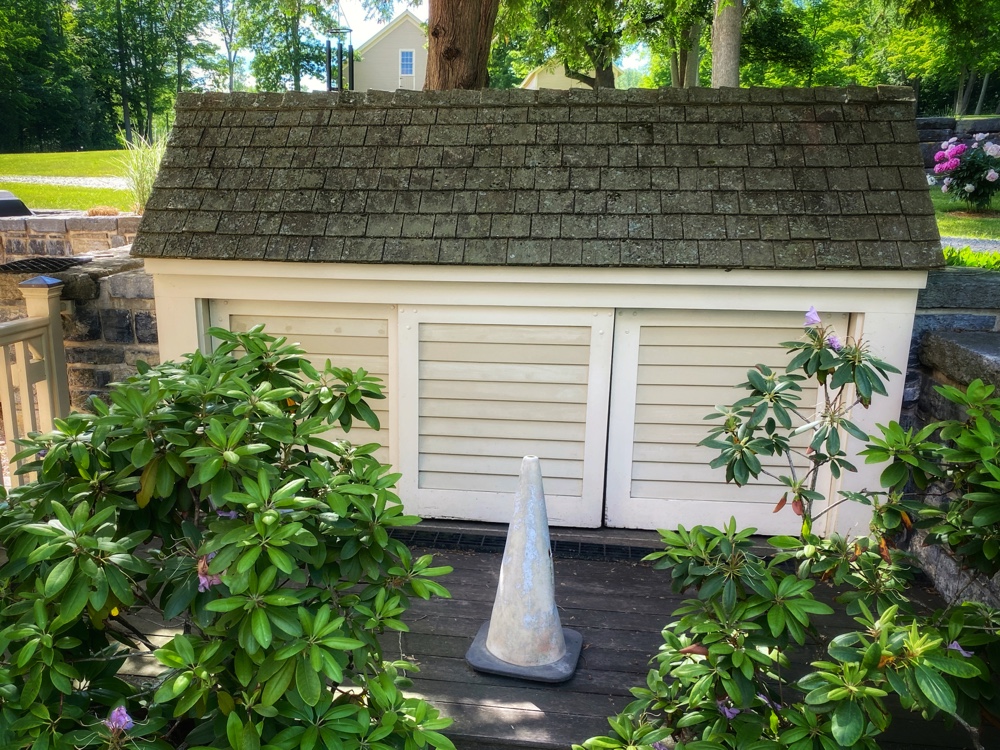
But you needn’t wait any longer. Patience is overrated, and the new deck “eye candy” is ready. Pictures aplenty coming your way shortly, but first a little backward glance to Rosslyn’s first garapa deck waaayyy back in 2008-2009. You see, this newly completed deck is a redo of the same deck and decking completed during our epic rehabilitation project a decade and a half ago.
So, without further ado, let’s look at the first iteration of Rosslyn’s garapa deck.
Garapa Decking v1.0
Let’s start by rewinding the timeline to 2008-9. Building the new deck and installing garapa decking was the proverbial caboose in a virtually endless train of construction that started in the summer of 2006. And with winter upon us, December days flurrying past, the year coming to an end, carpentry conditions deteriorating rapidly, and the risk of missing yet another deadline, we were pushing hard to get the deck complete before 2008 morphed into 2009. Fortunately most of our crew had been with us for years and they were really, really good sports about giving everything they had to finish the year with a completed deck.
Although the deck had been underway for many weeks at this point, let’s start with a couple of cold and drizzly December 10, 2008 snapshots.
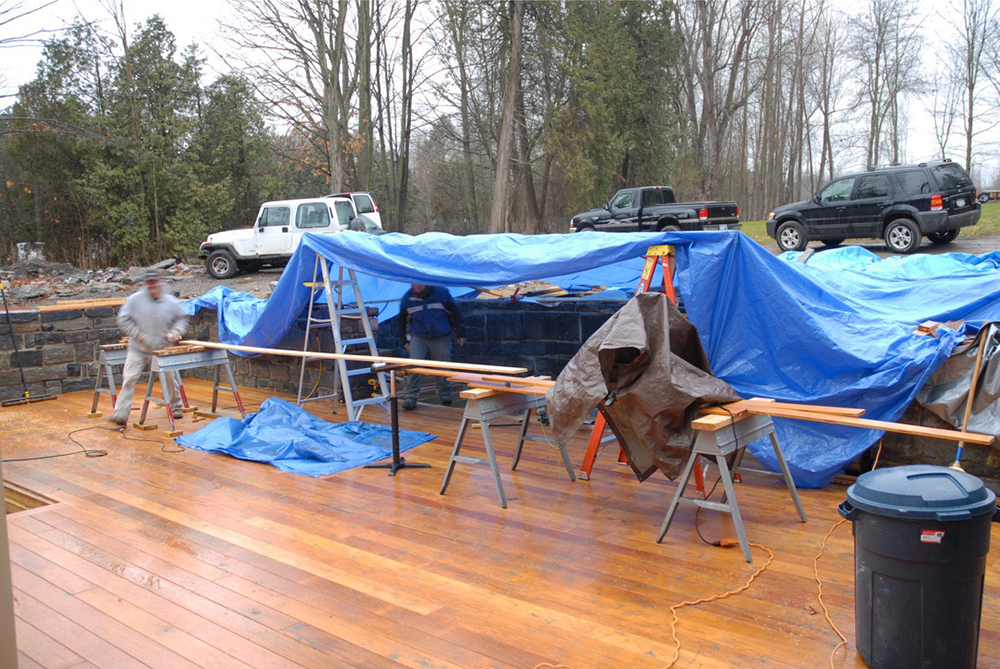
This makeshift weatherproofing was an attempt to endure the increasingly cold and wet conditions as autumn gave way to winter. Decking was closer, closer, sooo close,… but not yet done. And the damp child found its way into every every gap between clothing, up sleeves, down collars. Winter’s warning was everywhere as the team hustled toward the finish line.
Wondering about that smiling, blurry apparition at the left? That’s Doug Decker, hustling to keep warm. (And his colleague, partially concealed beneath the tarp, is Jonathan “Boulder” Schier.)
Here’s another glimpse of the challenging conditions the crew endured during the final stretch of the garapa decking project almost fourteen years ago. It’s not east to discern but Doug’s under the tarp tent working on the stairway.

Of course, the only way to make these drizzly early December conditions look pleasant is to leapfrog forward to December 22, 2008.
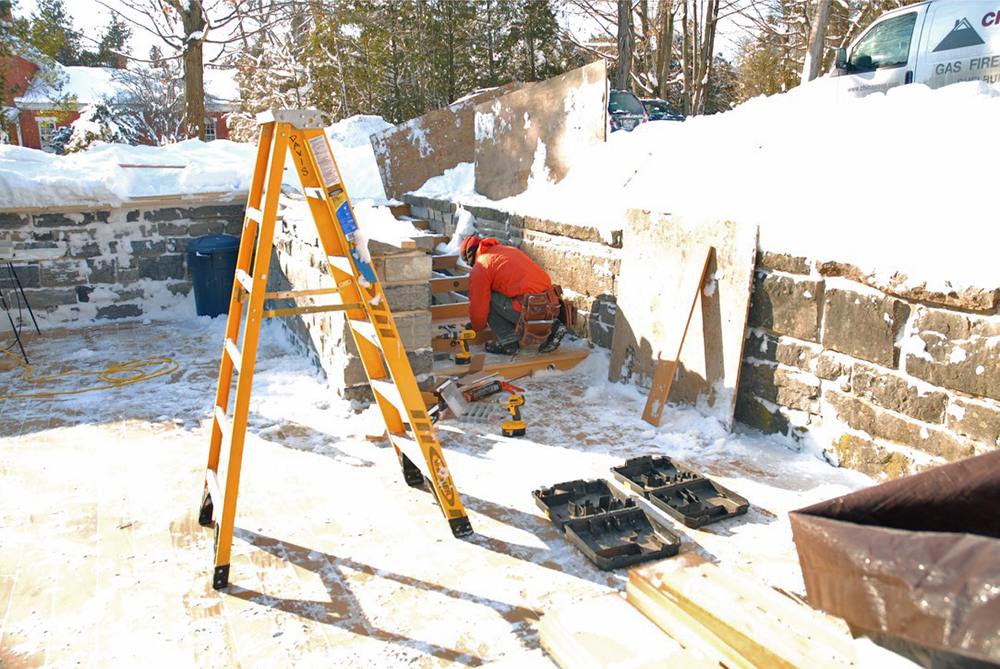
You might almost miss freezing rain once a couple feet of snow have blanketed the North Country. In the photo above, a dauntless carpenter (either Kevin Boyle or Warren Cross, I believe, though perspective and bundling make me uncertain) is scribing and installing garapa treads, the final step to completing the deck. And despite the snow, it’s sunny and he’s dressed for success. This is certainly one of the downsides of installing a deck so late in the season (and one of the upsides of having such an amazing team of carpenters, willing to do whatever it takes to get the job done right and on time!)
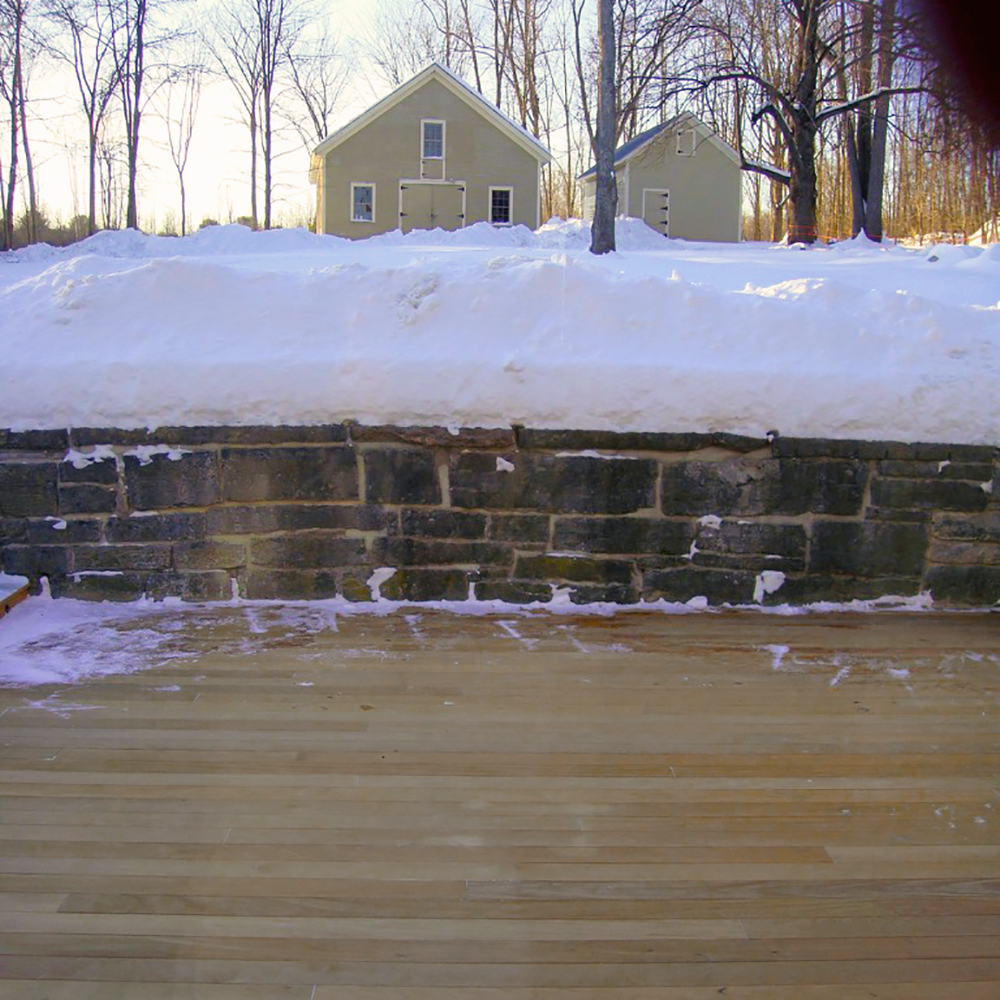
What a perfect way to start the new year! Garapa decking installation complete; access to and from vehicles, garbage and recycling shed, side yards, safe and convenient; and an absolutely breathtaking addition to the property, transitioning perfectly from interior to exterior space.
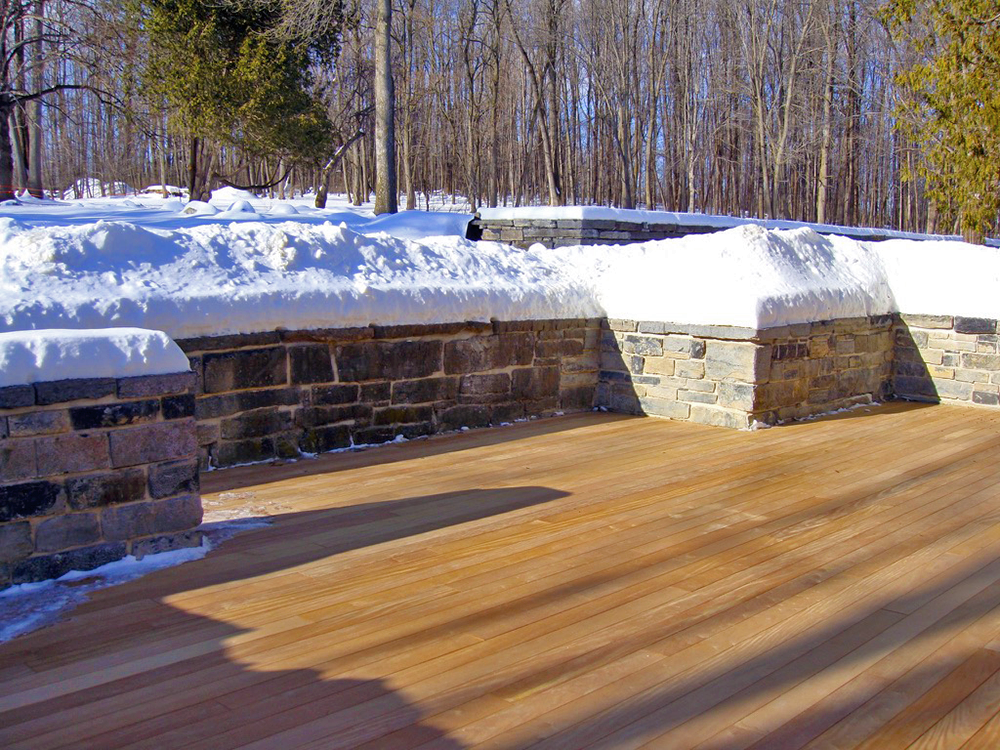
One month later Rosslyn’s garapa deck looks as if it’s always been there. Patinated perfection. Still unsealed, waiting for more forgiving conditions, but that too will happen in due time. (Although it’s an off-topic segue, I will revisit this period between garapa installation and sealing down the line. There was an unfortunate hiccup that required attention, but — spoiler alert — it wasn’t actually caused by the gap between install and oiling. Another gap was the culprit…)
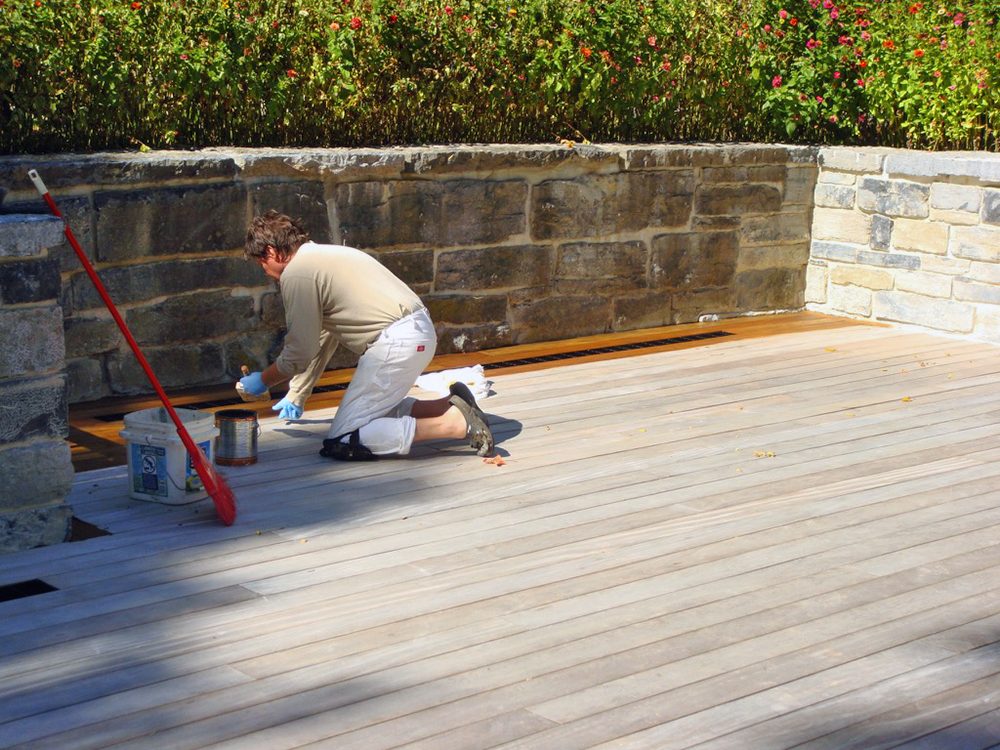
Friend and jack-of-all-trades-master-of-many, Wayne Gryk tackled the challenge of sealing the garapa decking 9-10 months after installation. He’s an artist, a perfectionist, a productive and diligent finisher, and exactly the right person for the final step in Rosslyn’s [first] garapa deck.
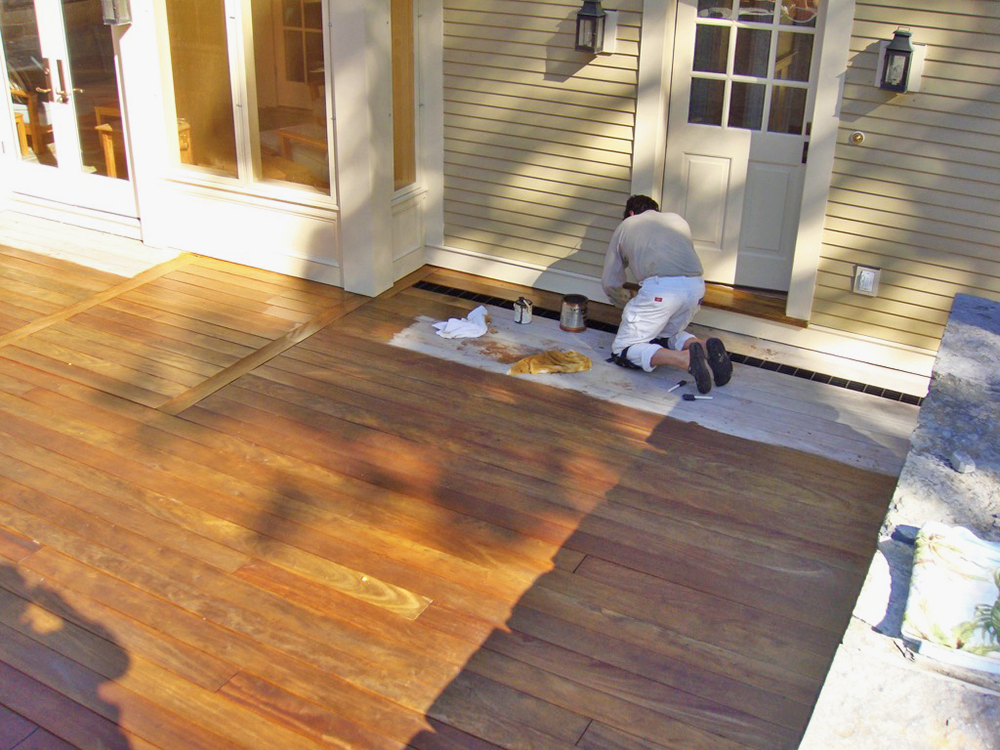
Home stretch… One of the boobytraps of sealing a deck is maintaining house access. It’s easy to accidentally close off entrance and egress without forethought about how you’ll access the dwelling while patiently swaying the often lengthy cure time. Fortunately this isn’t the sort of drama Wayne delivers
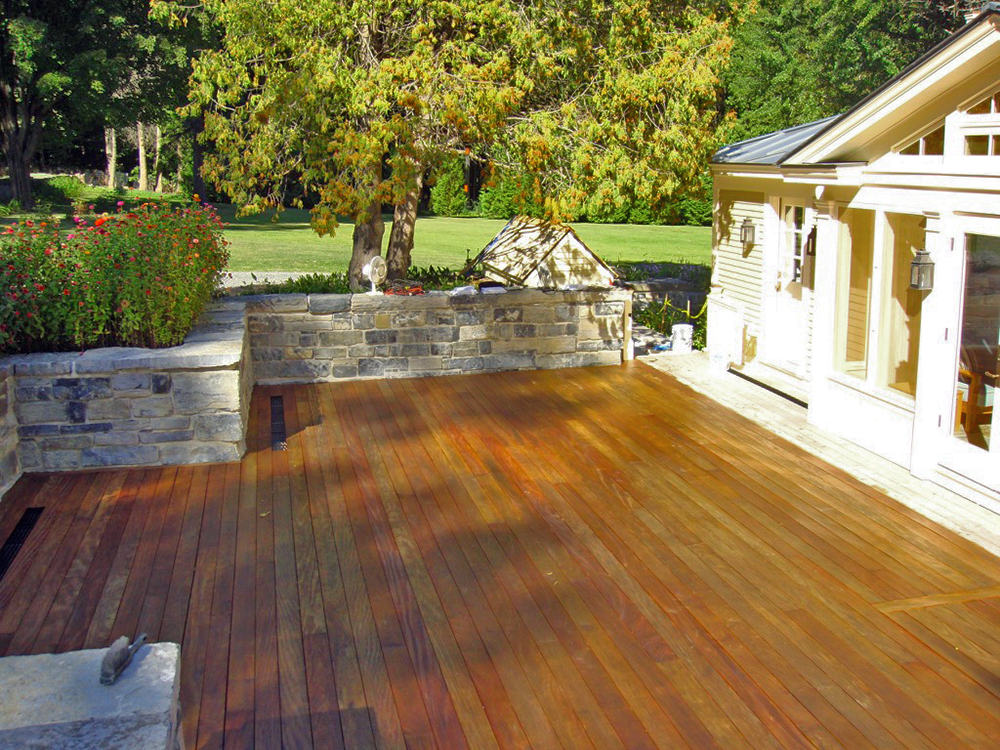
Wayne proceeded strategically, leaving a small unsealed “pathway” on the deck for us to enter and exit until the newly sealed decking had dried sufficiently. Once we could switch to another doorway, Wayne finish up the last little bit. In the photo below he’s almost finished, but you can already see the glorious accomplishment.
At this point it’d be reasonable to fast-track from 2009 to the present, 2022. With a newly rebuilt deck, brand new garapa decking installed, and a fresh coat of oil accentuating the unique color and grain of the garapa, it’s a site to behold.
But before showcasing the new decking, I’d like to make a quick pitstop on November 25, 2016 which is a handy example of the results of resealing our first garapa deck. Let’s start with a high sun, midday look across the deck shortly after oiling.
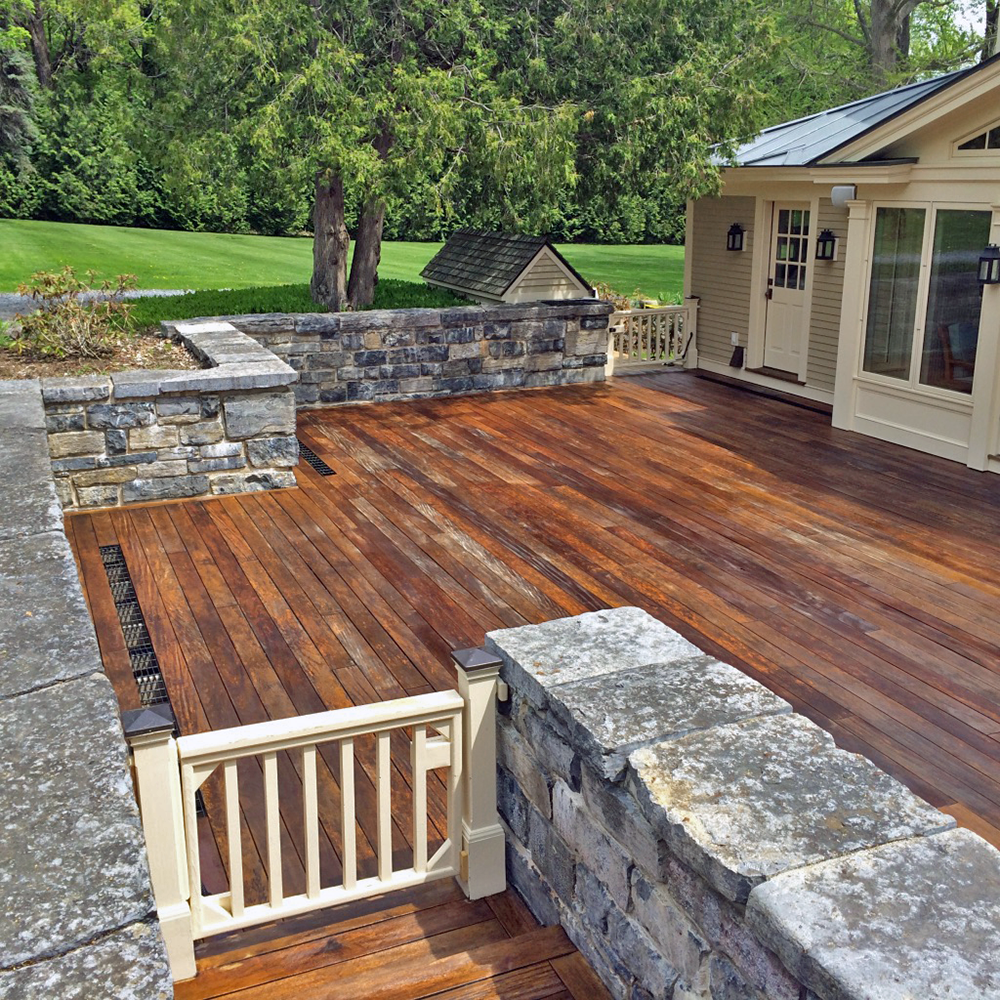
You’ll note the considerably darker decking in the photo above. This is not because we used a dark pigmented sealer (we have always used clear sealers). It’s the effect of graying as the deck ages. We generally allow a few years between resealing, in part because we actually really enjoy how the gray patinated decking looks next to the Essex quarried limestone (aka Chazy limestone) walls. But a sealed deck is better preserved against the snowy Adirondack winters, so we reseal in service to longevity. In this photo you can see how much depth and character the garapa exudes as it matures. Each season offers intriguing nuances to discover and appreciate.
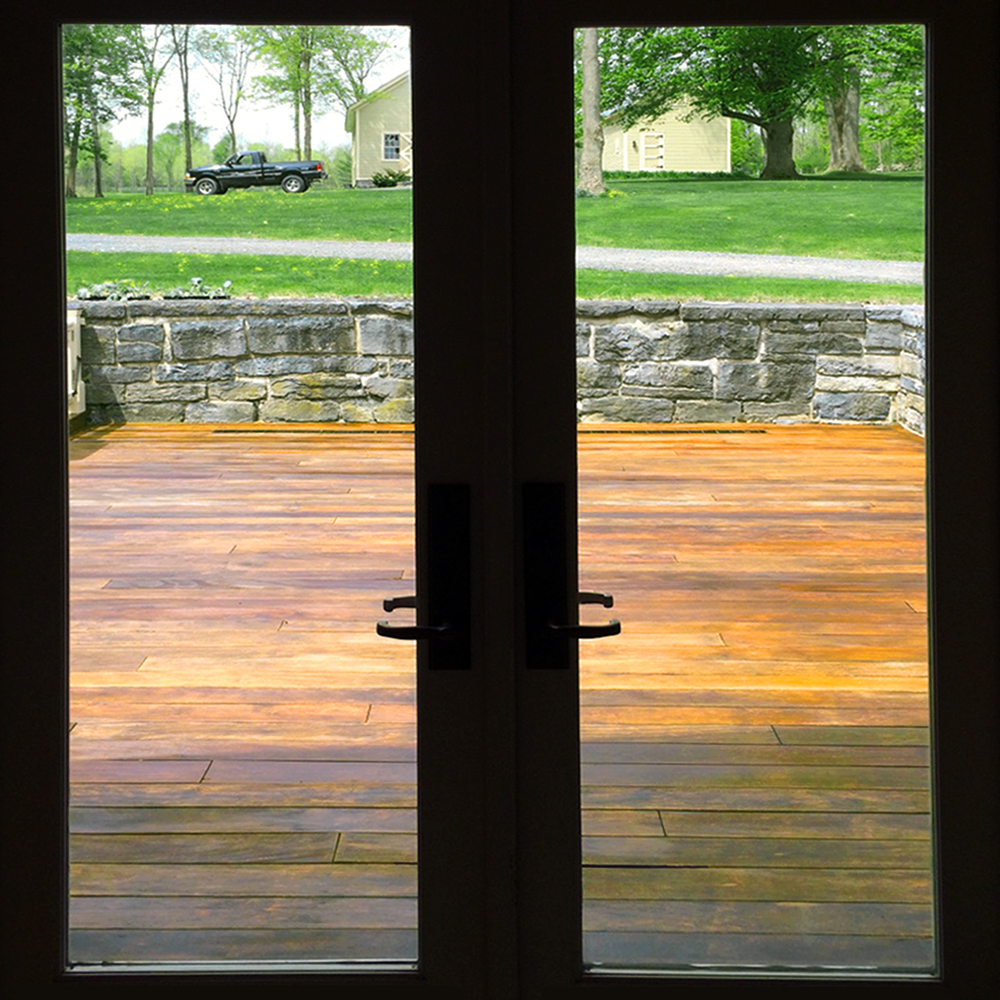
The same deck, the same day, viewed from another angle highlights the honey and maple syrup range of Rosslyn’s garapa deck approximately eight years and several resealings after her debut.
In more recent years we allowed the decking to gray without resealing because we knew that the substructure was failing and deck replacement was iminent. In preparation for our summer 2022 deck rebuild we carefully salvaged all of this original garapa decking, and current experiments are underway to determine the most appealing adaptive reuse in the new icehouse project. (I’ll post an update on that soon!)
Next up? Installing garapa decking on the newly rebuilt deck!
Leave a Reply