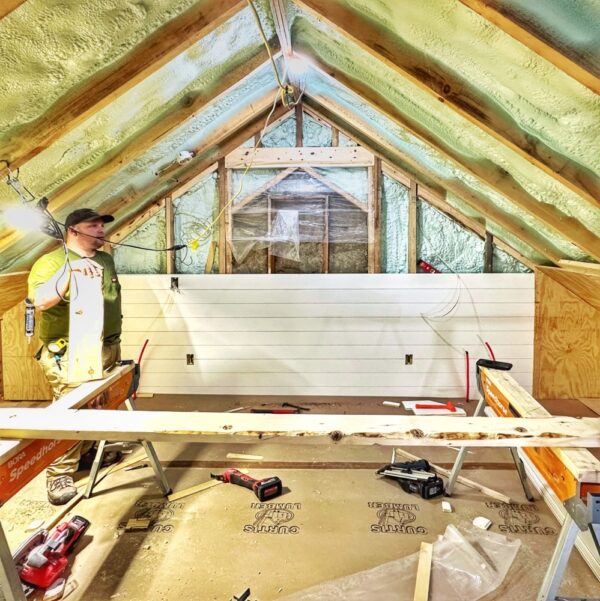
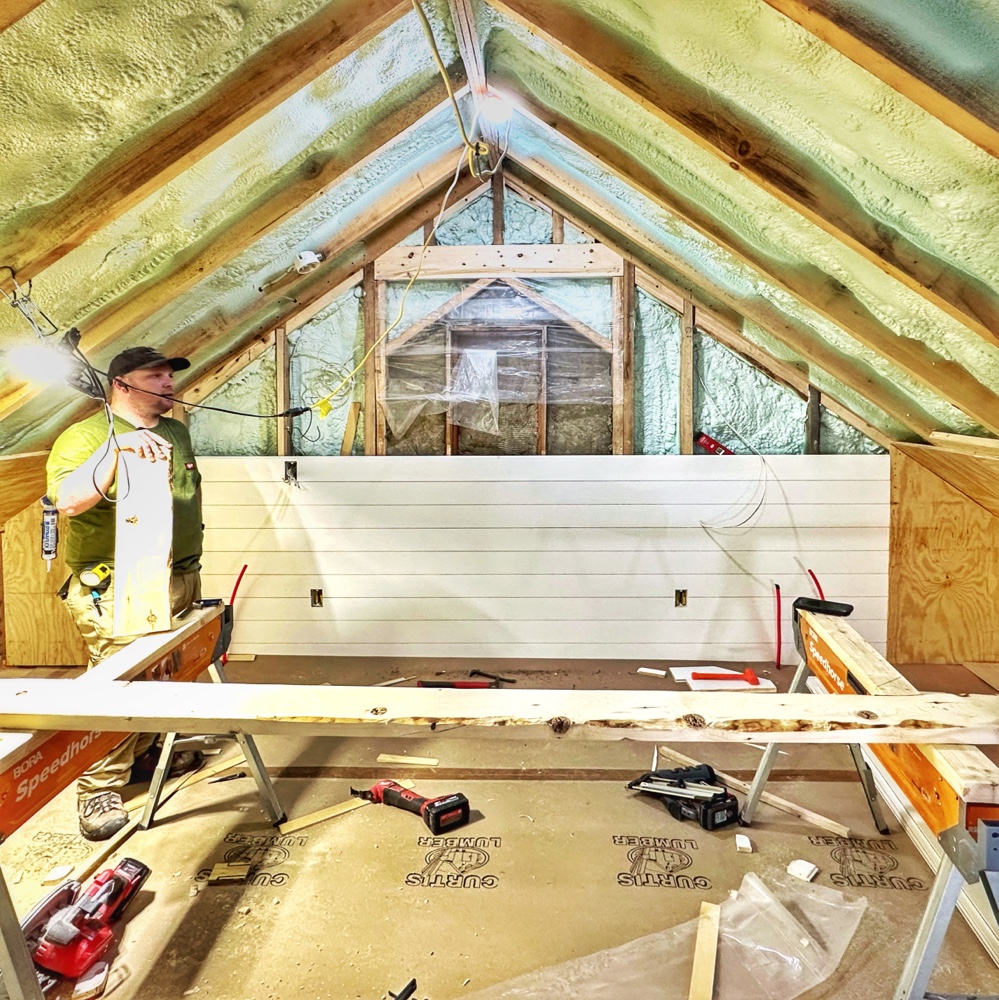
Hurrah! As of today we’ve begun installing tongue and groove nickel gap (aka “nickel gap” T&G) in the icehouse loft.

Kudos to Matt Sayward for initiating tongue and groove nickel gap installation in the icehouse today. With Peter Vaiciulis guiding (and weeks’ worth of prepping, priming, and painting the paneling almost complete) we’ve launched a new chapter in our rehabilitation project. An exciting and long anticipated chapter because it marks the metaphorical skinning in of the preparatory work — sooo much structural and mechanical accomplishment — underpinning the transformation of Rosslyn’s late 1800s icehouse into a 21st century work+play hub.
Tongue and Groove vs Shiplap
Why did we decide to install tongue and groove nickel gap paneling inside the icehouse instead of shiplap as originally envisioned?
Credit goes first and foremost to Eric Crowningshield whose team collaborated on many, many, many linear feet of shiplap during the ADK Oasis Lakeside renovation, a couple of years ago. He encouraged us to consider switching to tongue and groove instead. By milling the paneling with a nickel gap, the finished results are indistinguishable from shiplap but the installation process is improved (and I believe that the structural integrity is also superior.)
In many respects, Matt took the lead installing the paneling on that project as well, so it’s feels fitting to witness him inaugurating this new chapter today. and the results are handsome. I’m looking forward to another day’s progress tomorrow.
Brushed vs Rolled Finish
In related news, Pam salvaged, four cut-offs from Matt’s work to experiment with re-painting solutions to the problem I broached yesterday. One cutting was preserved, as-is with the dimpled (i.e. orange peel) finish resulting from roller nap. The other samples received three different applications: a third coat with stiff bristle brush, a fourth coat with stiff bristle brush, and a preliminary sanding followed by a third coat with stiff bristle brush.
Although my photo failed to capture the textural differences, applying two additional brushed coats of Benjamin Moore White Dove (OC-17) made a significant improvement. So once Matt finishes installing the tongue and groove nickel gap on the east wall of the loft, we will apply to additional coats. Hoping it will look great!

Leave a Reply