Today was one of *those* days. One step forward, two steps back. Setbacks. Not crises. So we are reminding ourselves…
Dishwasher Delay
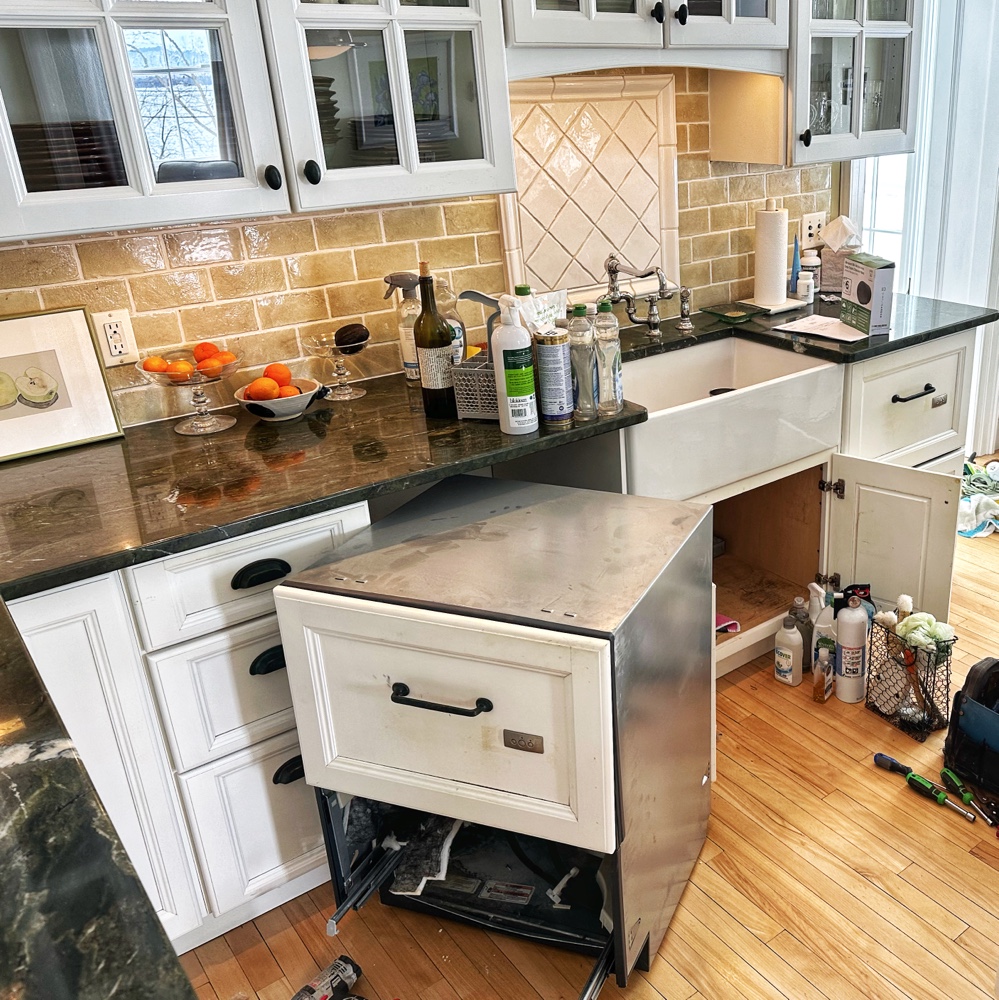
Replacement dishwashers were halfway through installation when Susan walked into the kitchen and discovered that they were the wrong units. She was replacing two Fisher and Paykel DishDrawer units (that had started to fail) with Café Dishwasher Drawers.
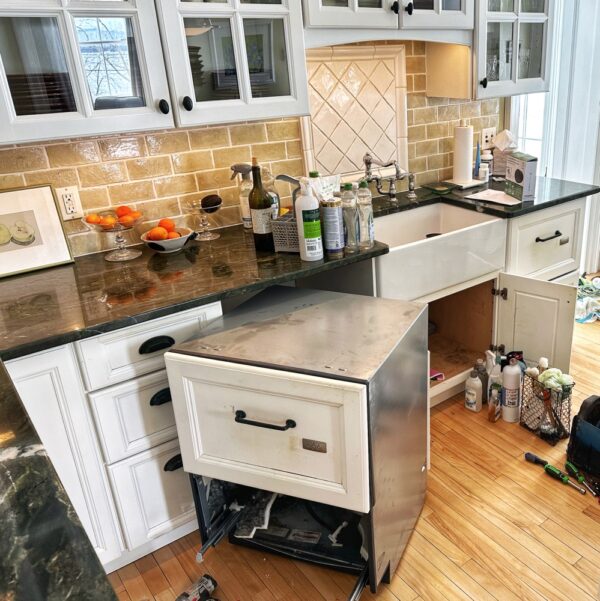
The service techs were as nice as could be, and their removal of the old units proceeded smoothly enough. Installation of one of the new units proceeded smoothly as well. Except it was stainless steel. The units Susan had ordered were white enamel. Full stop.
One step forward, two steps back.
They removed the new unit and rescheduled for the beginning of next week. Until then, two gaping holes in the kitchen and plenty of hand washing. Which, strangely enough, has been working out quite well.
Shower Stem Setback
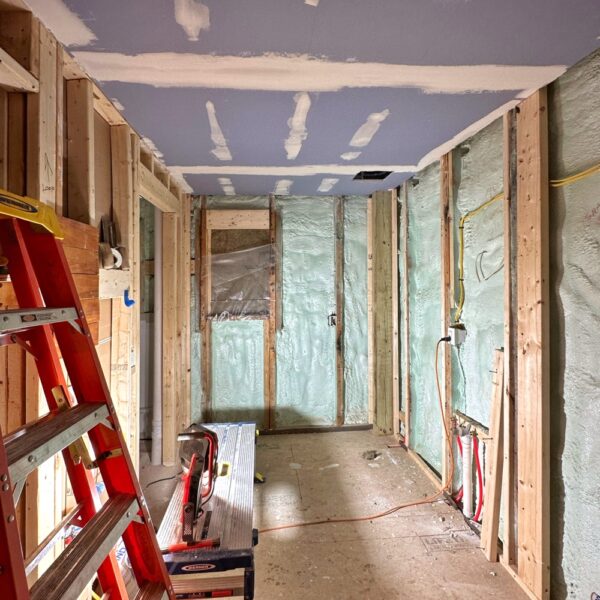
In a classic “cart before the horse” scenario, we got out ahead of ourselves with bathroom drywall installation. We actually have very little sheetrock (bathroom ceiling and mechanical room) in the icehouse, and so I’ve been pushing hard to get it off the to-do list in order to move forward with plumbing and tiling and…
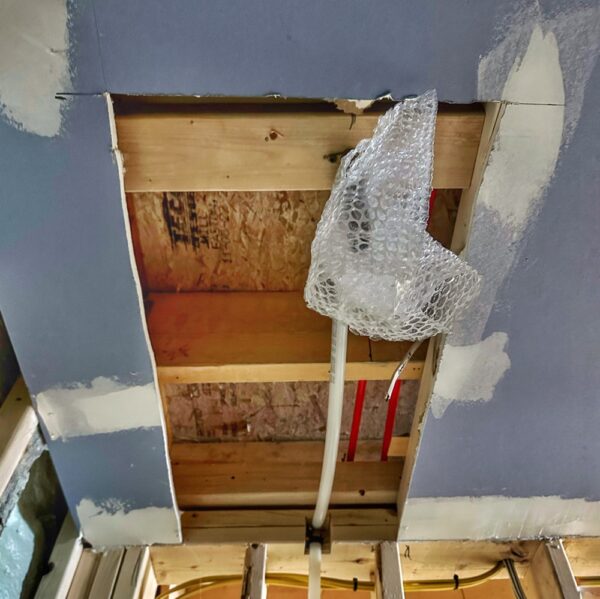
Long story short, today we had to cut out newly installed, taped, and plastered sheetrock in the icehouse bathroom to provide plumbing access for the plumbers to complete installation of the ceiling mounted rain shower.
One step forward, two steps back.
Plumbing complete we can now reinstall sheetrock, etc. And then we can actually cross it off the list.
Paneling Paint Hiccup
Tomorrow we’re excited to begin installing T&G “nickel gap” paneling in the loft. After a couple weeks of offsite preparation — and plenty of anticipation — the first delivery of material arrived from one of the offsite “paint shops” this evening. (We’ve been fortunate that two members of the team have been willing to temporarily prime and paint the lumber in their garages/workshops to help work around on-site space limitations.)
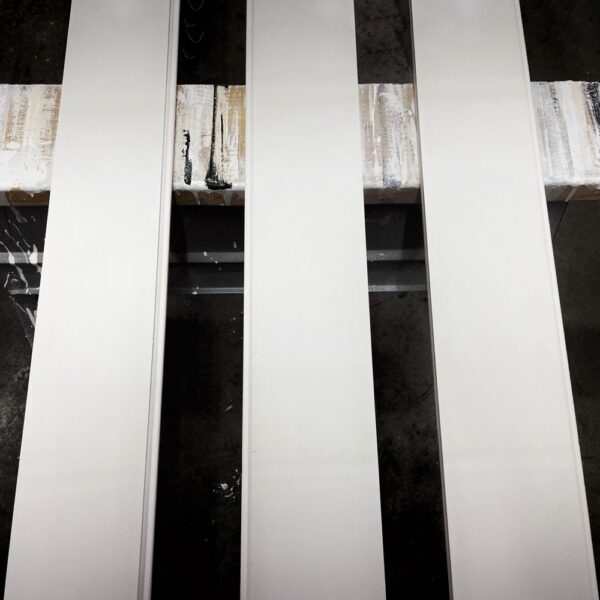
Sadly we discovered that the hand brushed finish looked like a rolled finish. Think, texture of an orange peel. For many people that would be fine, ideal even. But given the 1800s historic building we’re rehabilitating, I opted to finish the “nickel gap” paneling with two hand brushed coats of Benjamin Moore paint. Unfortunately we made a compromise to improve efficiency: after hand brushing a stain sealer on knots, we rolled two coats of primer onto the wood before hand painting the finish. Some miscommunication and/or misunderstanding may have gotten baked into the mix, but I’m mostly frustrated not to have made offsite visits to the painting operations earlier on to inspect progress.
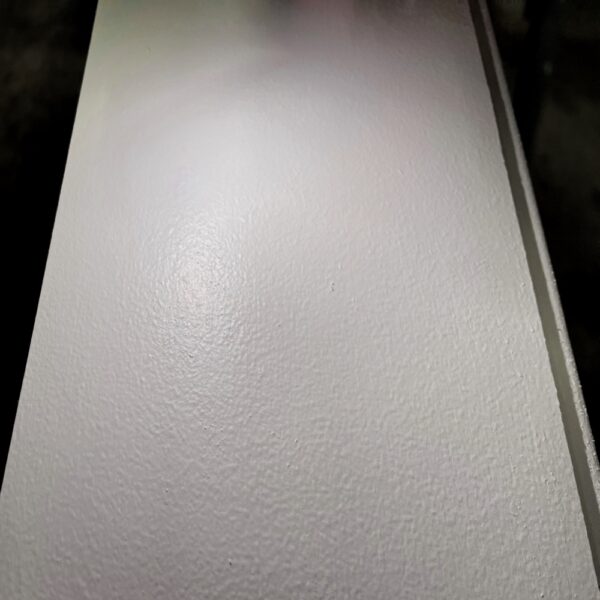
Tomorrow we’ll install the first wall and then experiment with re-brushing another coat of White Dove onto the wall in the hopes of improving the results. Fingers crossed!
One step forward, two steps back.
Leave a Reply